


Ornaments and Decor by Gabrielle McLean
Ornaments and Decor by Gabrielle McLean - This craft is a fun way to use household and outdoor items to decorate for the holidays and winter time. You can make them as simple or as creative as you want depending on the available materials. Taking a walk outside to find some of these materials is a great opportunity to clear your mind and spend time with family (wearing masks and socially distanced when and where necessary, of course!). If you use photos it can be a great way to look back on good memories, especially if you are going through a rough time right now. Similarly, if you used to live somewhere else or if you have a favorite spot to travel to, using an old map can be a great way to commemorate it. It is important to be content with where you are now, but it is also nice to look back on where you have been, both literally and figuratively, to see how far you have come. Another example can be giving new life to past creative projects by using music sheets and art. This activity is great for spending time with loved ones over the holiday season and can even be done over video call. However, you do not have to celebrate Christmas to do this project. You can alter the project to make wall decor or centerpieces instead of ornaments; just leave out the ribbon.
Ribbon Ornament
Materials:
Twigs
Ribbon
Scissors
Paper
Hot Glue
Instructions:
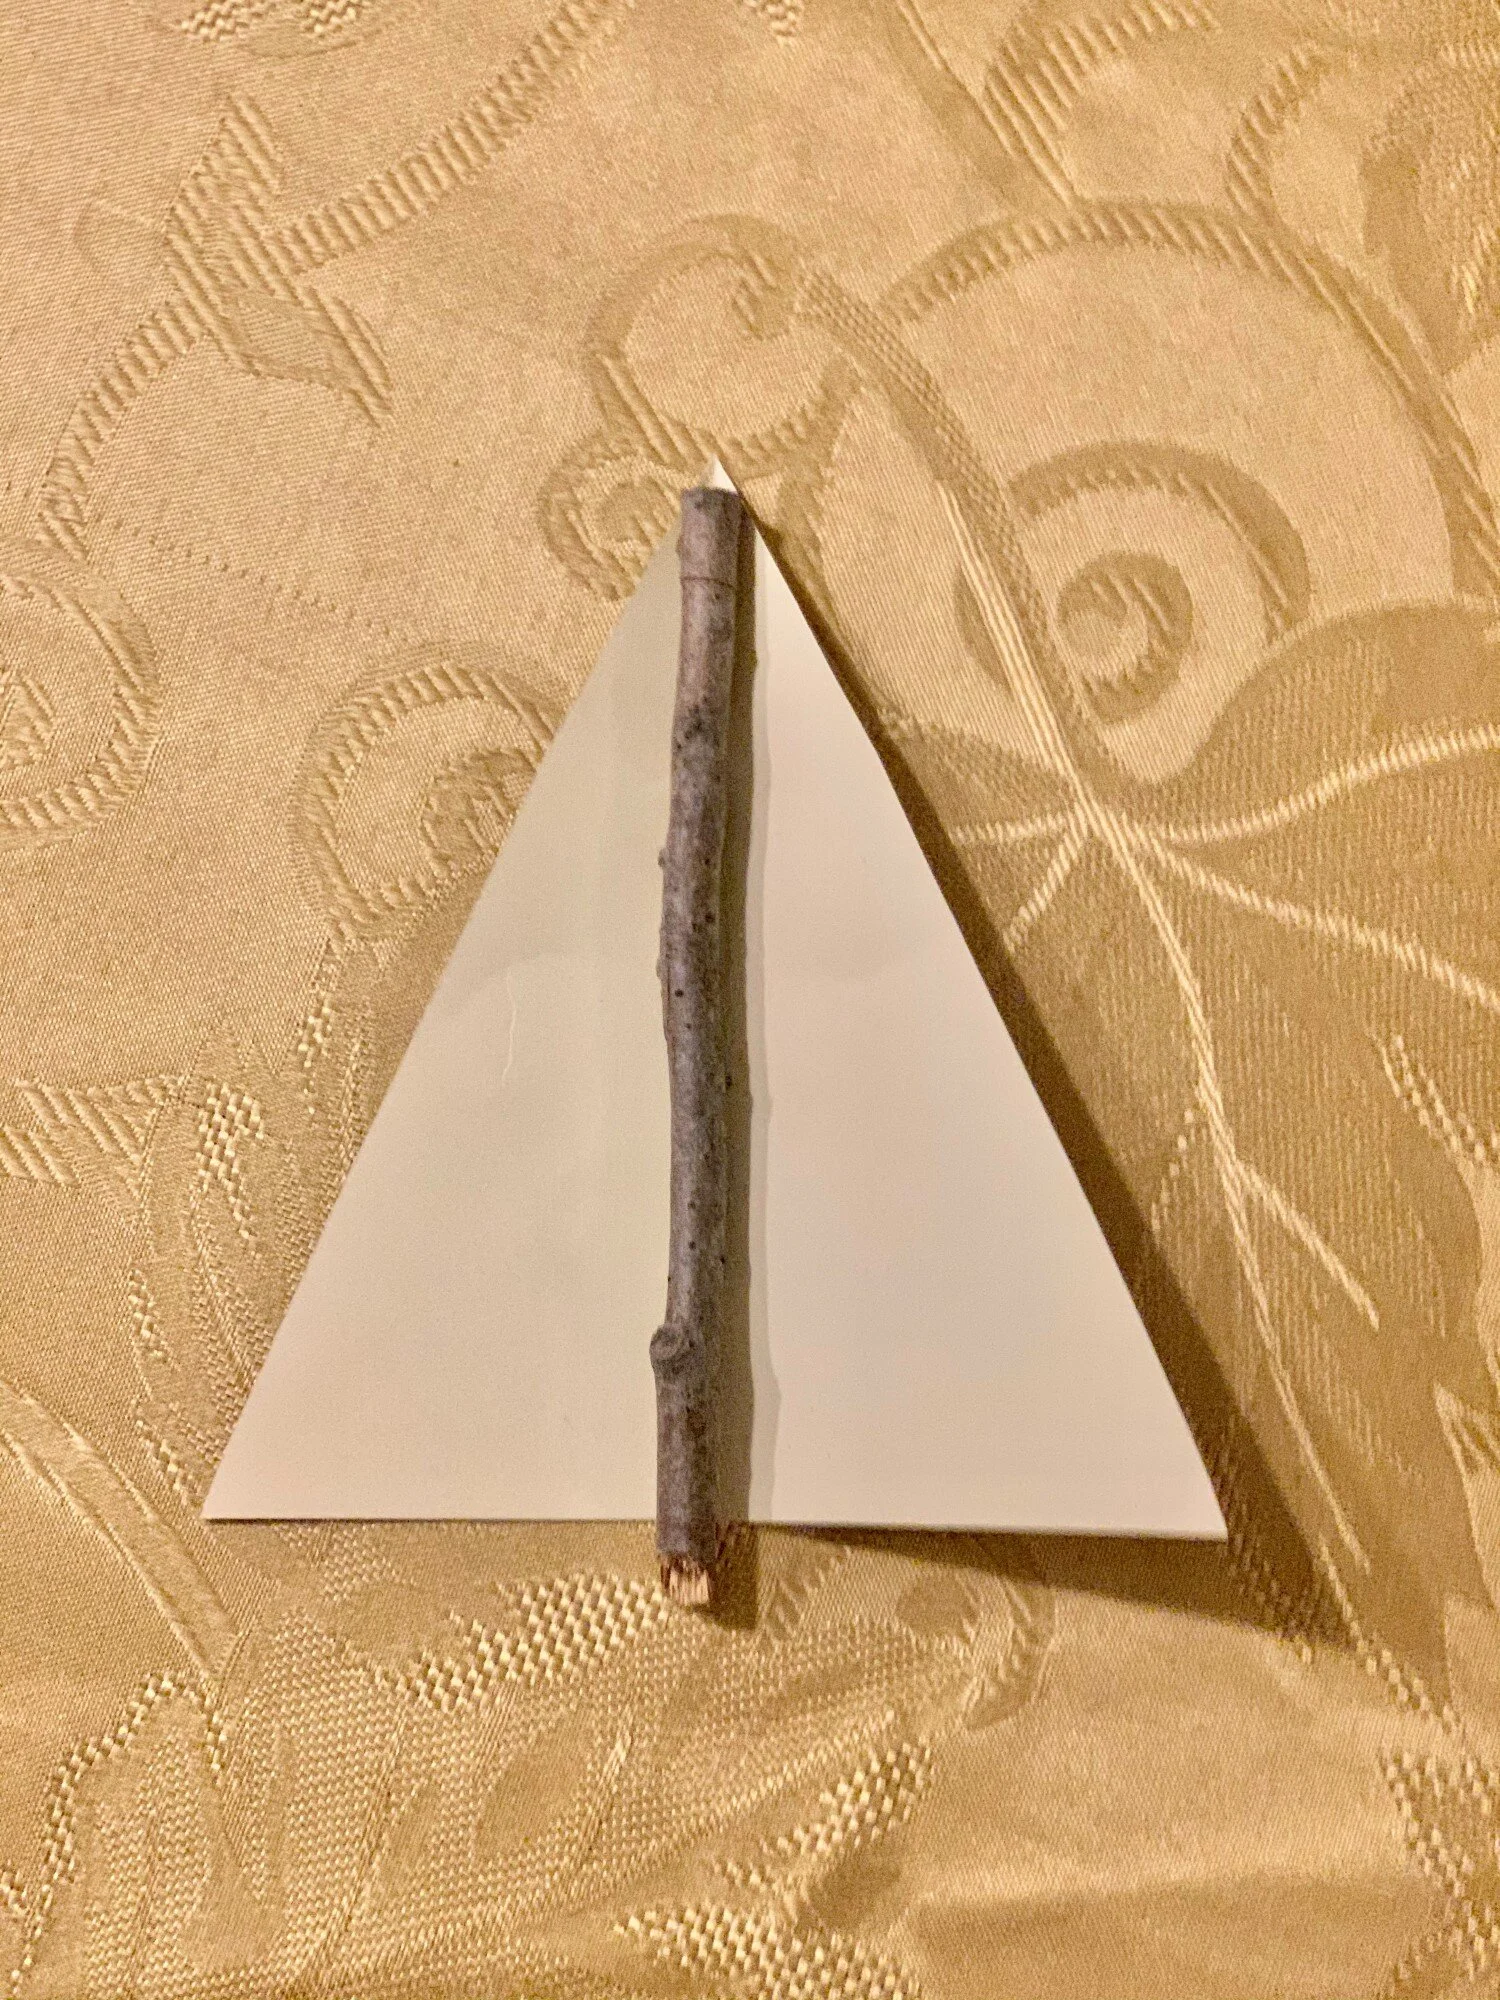
Step one: Using scissors, cut a small triangle, about four inches tall, out of a piece of paper. This will be your guide. Pick a stick that is roughly the same size as the height of the triangle. If you do not have one the same size, you can cut or break it to make it the height you need.
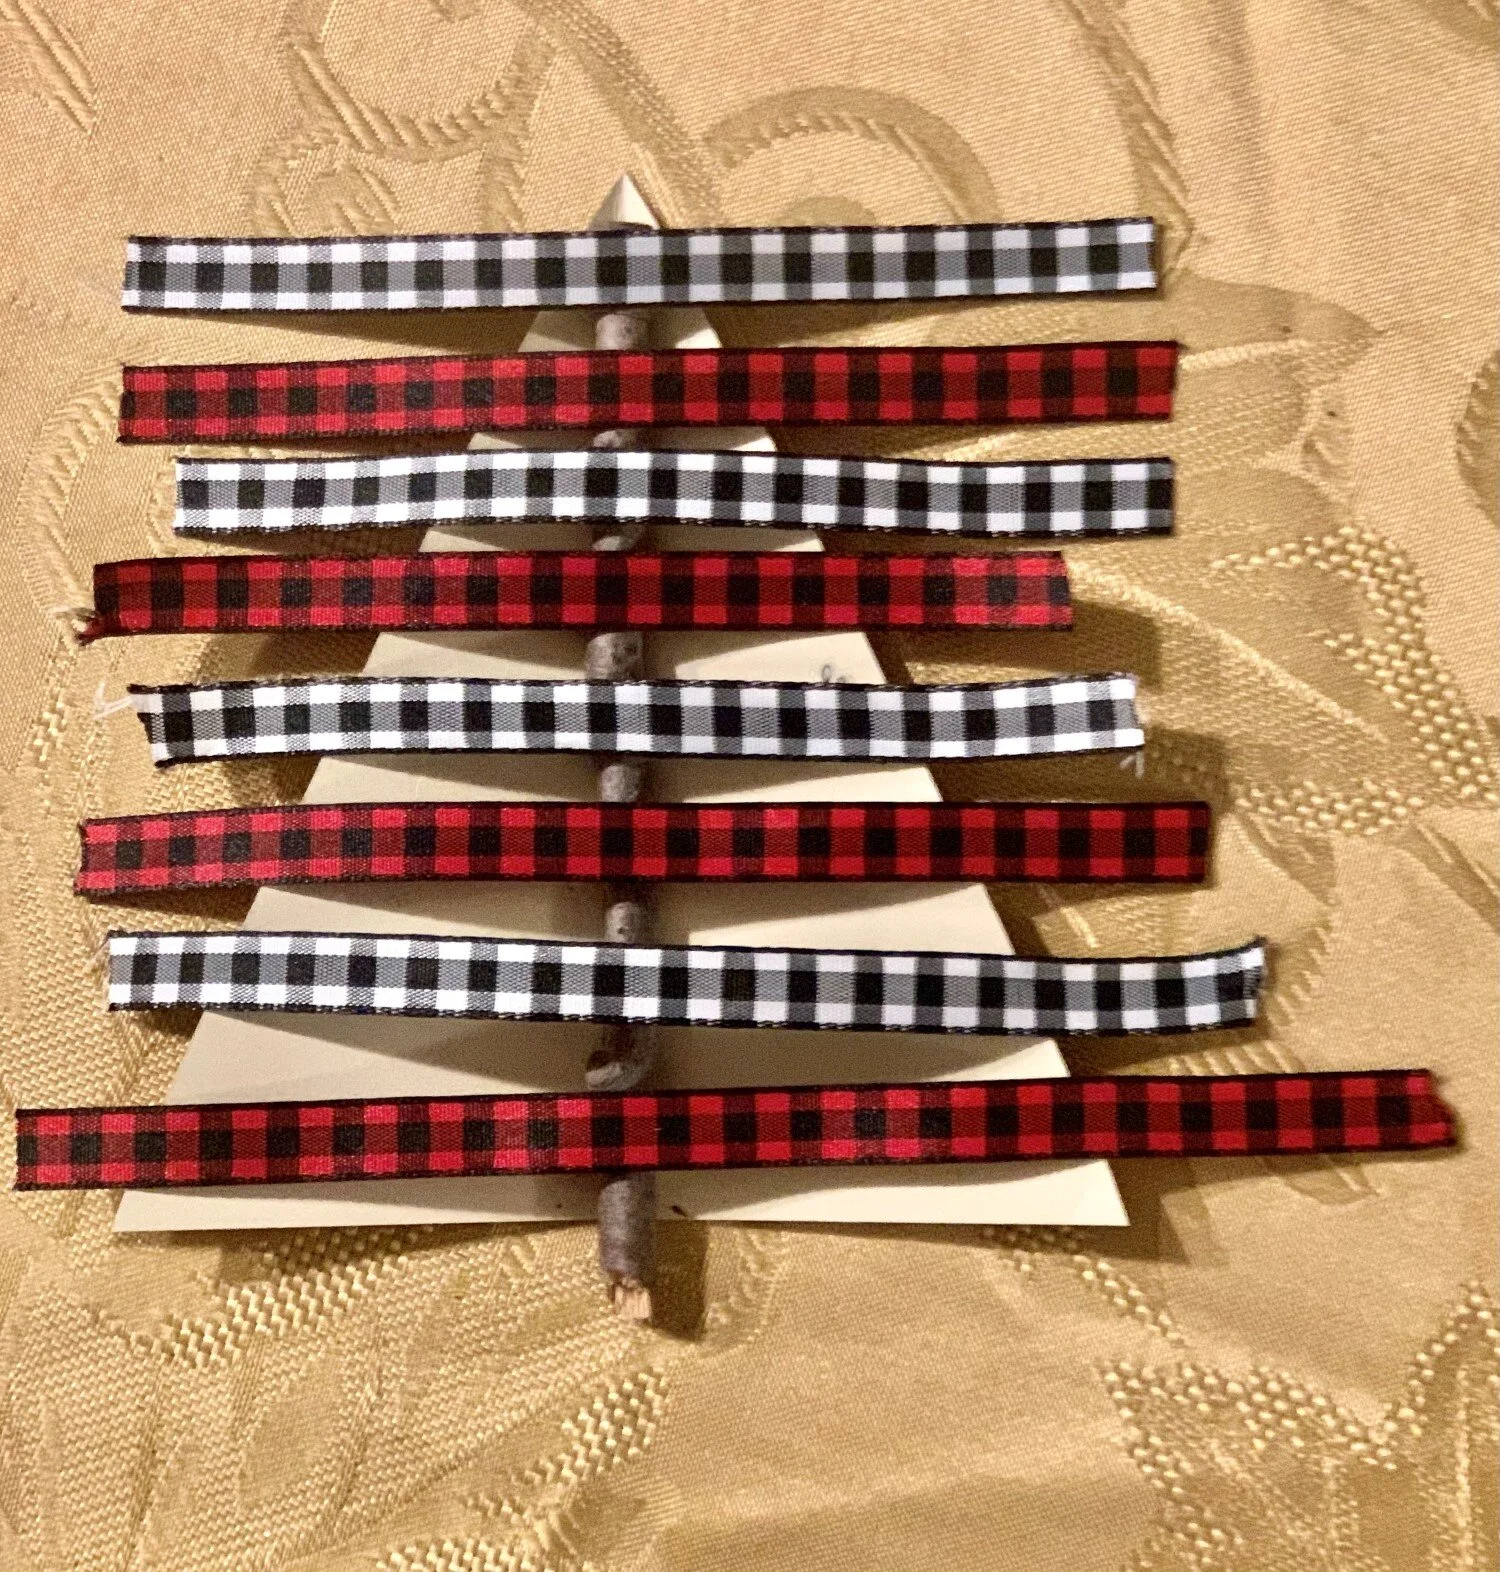
Step two: Measure the ribbon so it is a little bit longer than your triangle is wide. You need to have extra ribbon so that you can tie a knot. You can rearrange your ribbon until you find a pattern you like before you decide to cut and tie them. You may need to trim the ribbon after you tie the knot to make sure the ribbons make a triangular shape. As you get closer to the top of the stick, the ribbon will need to be shorter, but make sure it is still long enough for you to tie it! You can hot glue if you prefer.
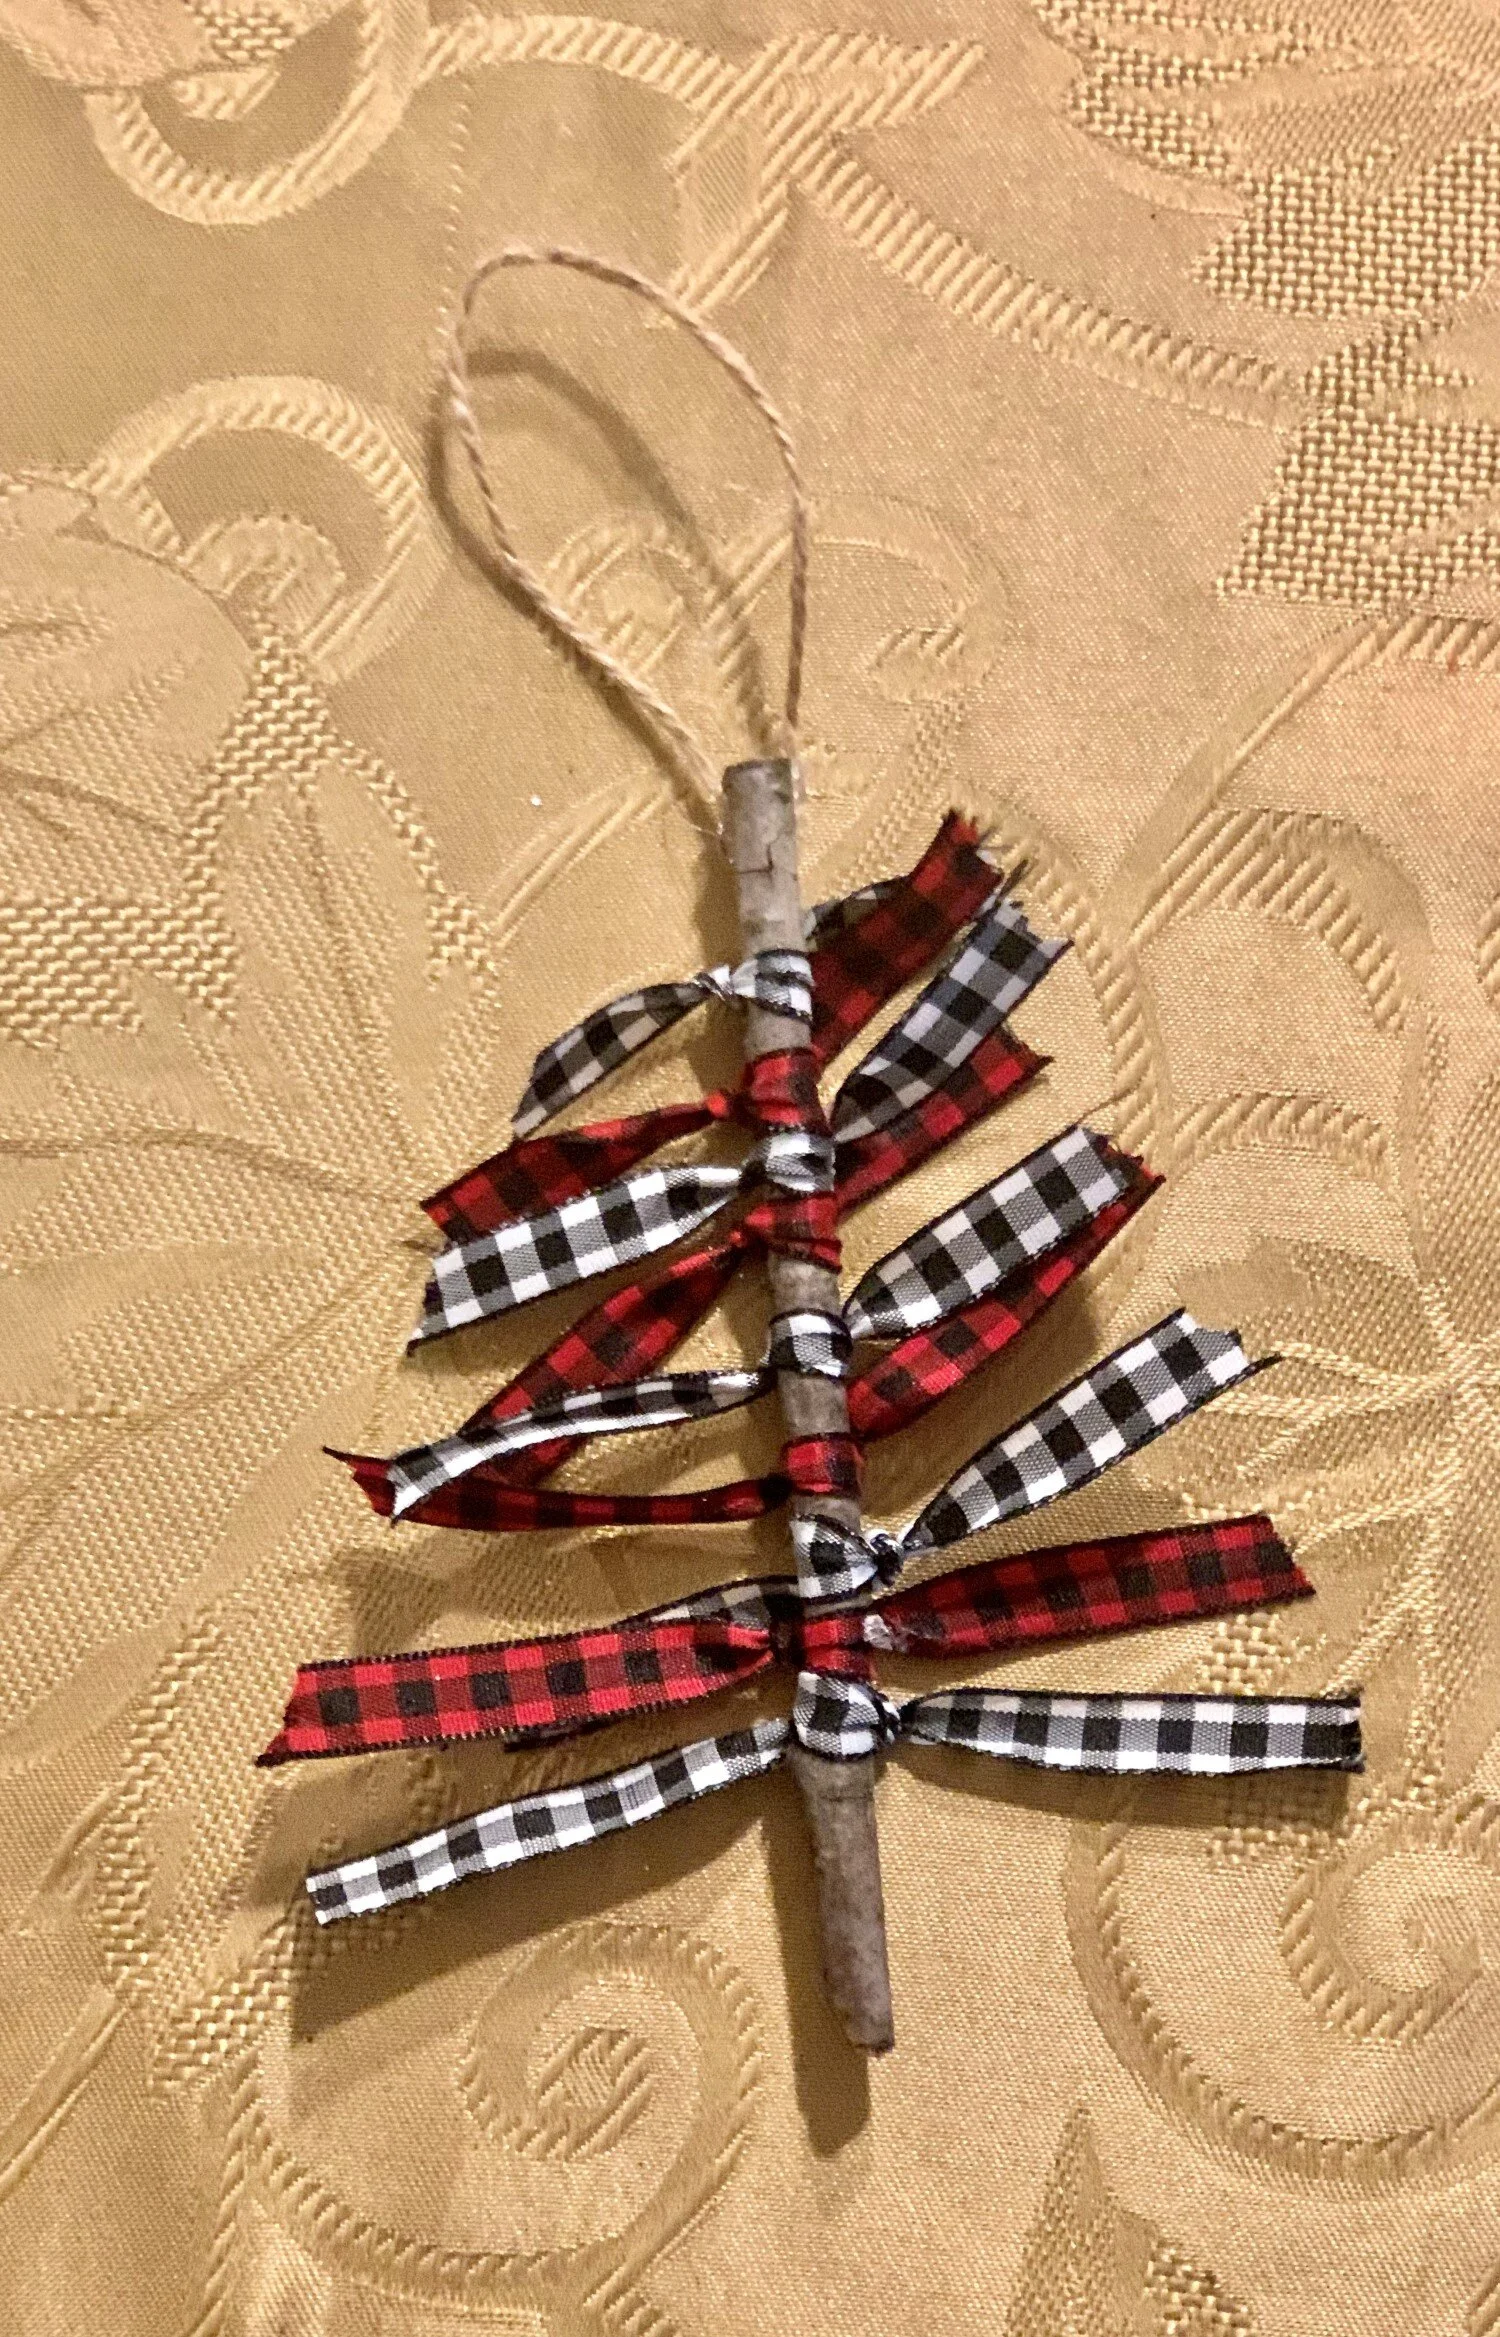
Step three: Glue ribbon or string on the tree in a loop.
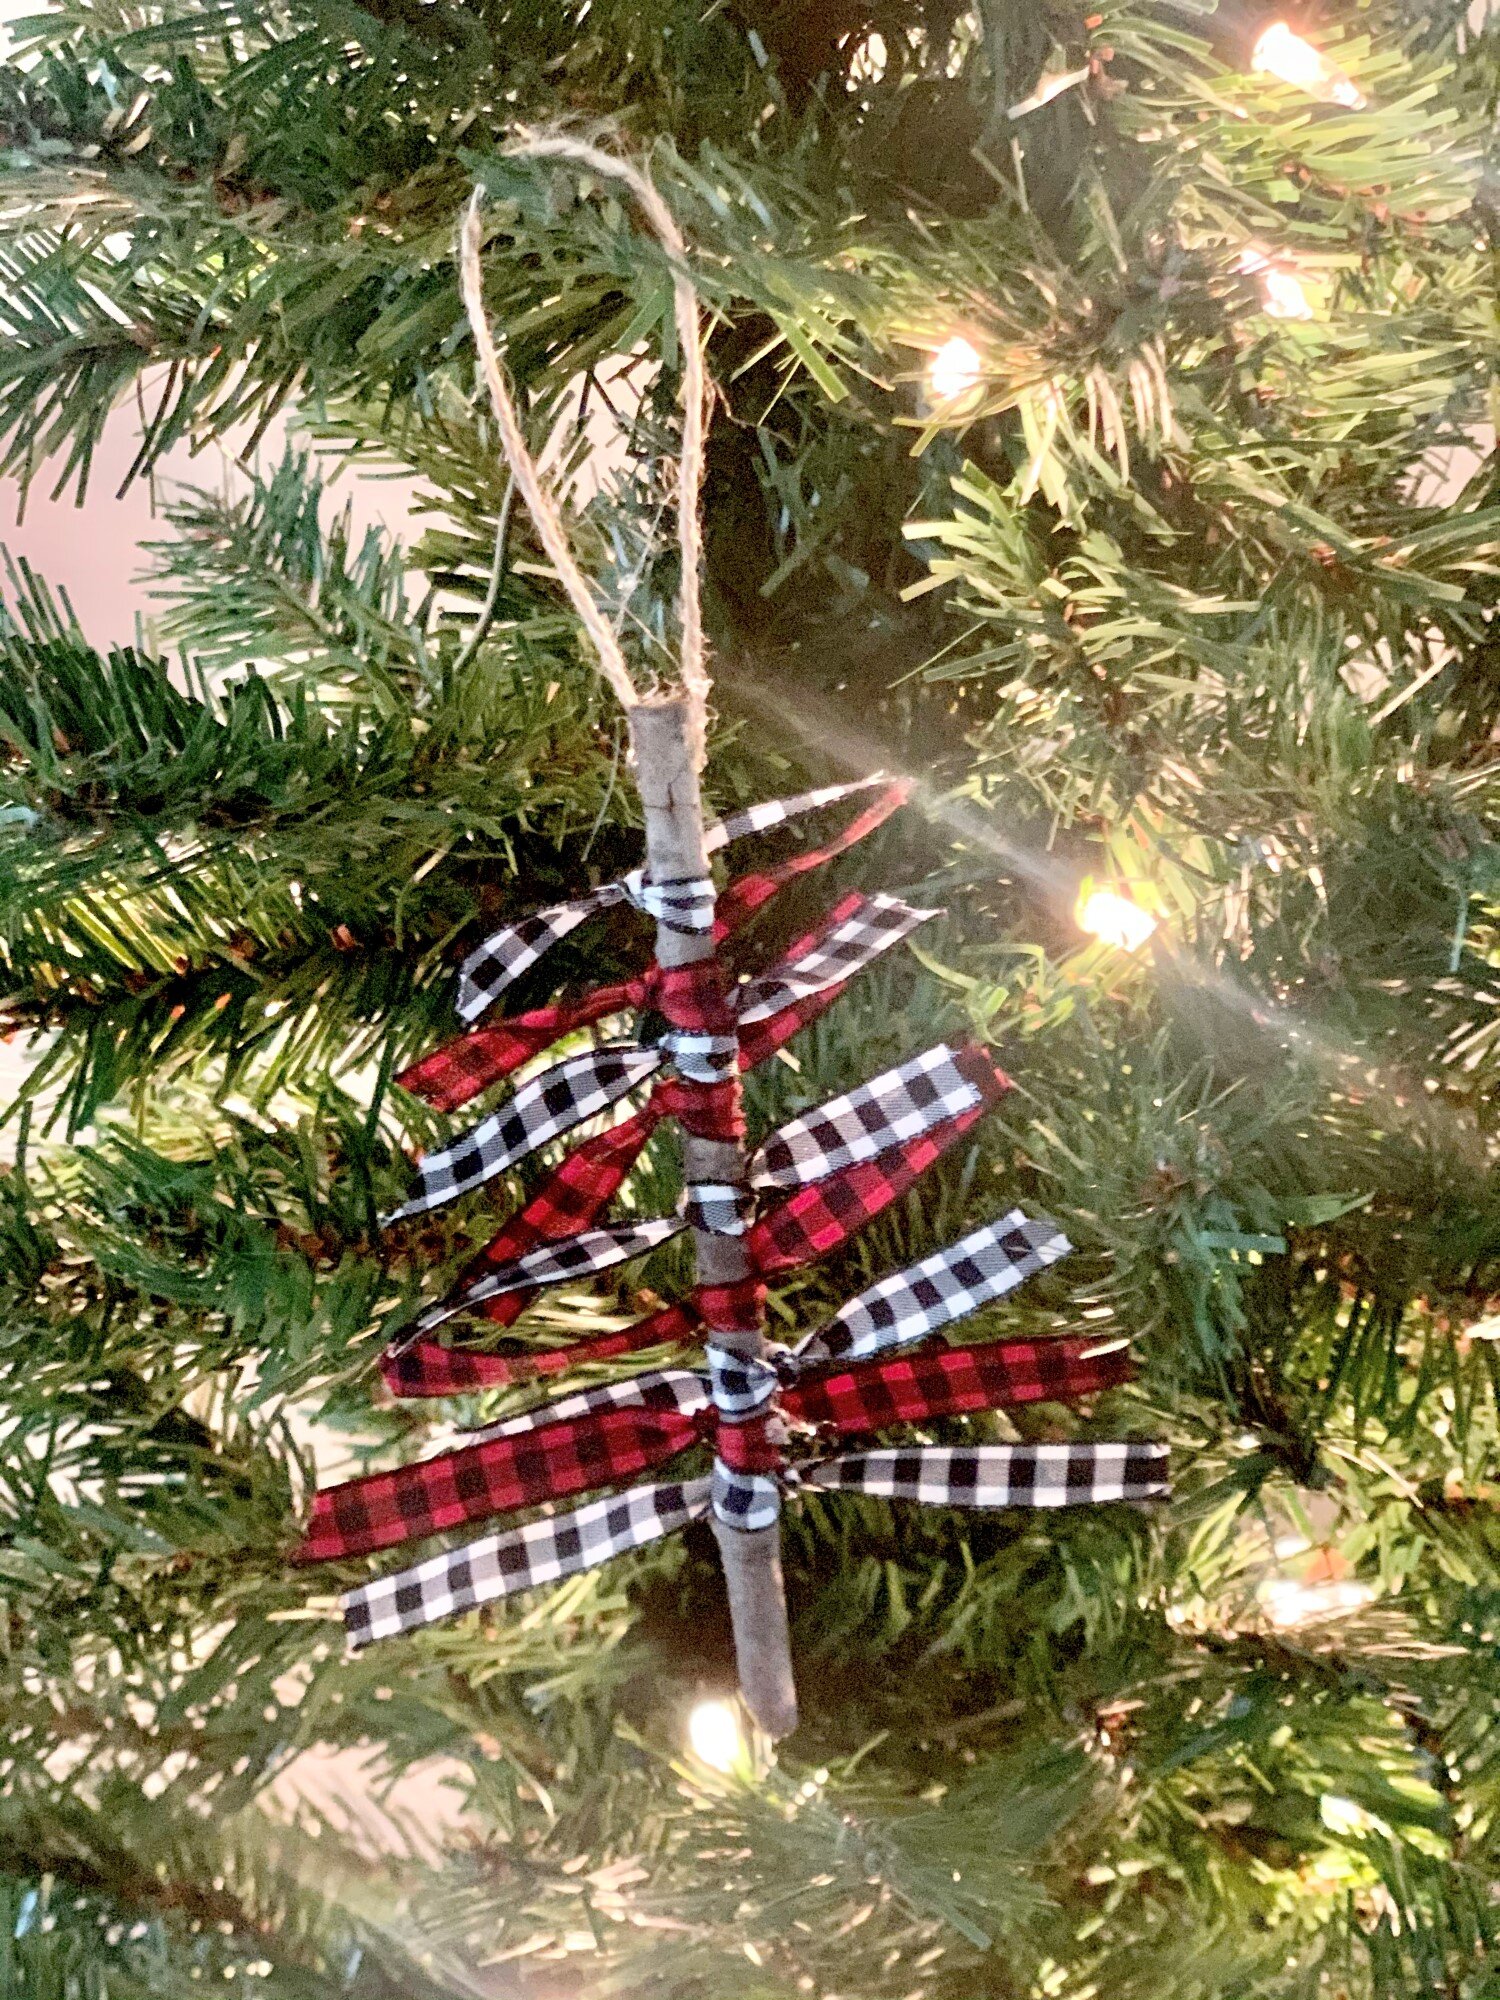
Step four: Hang it on your tree!
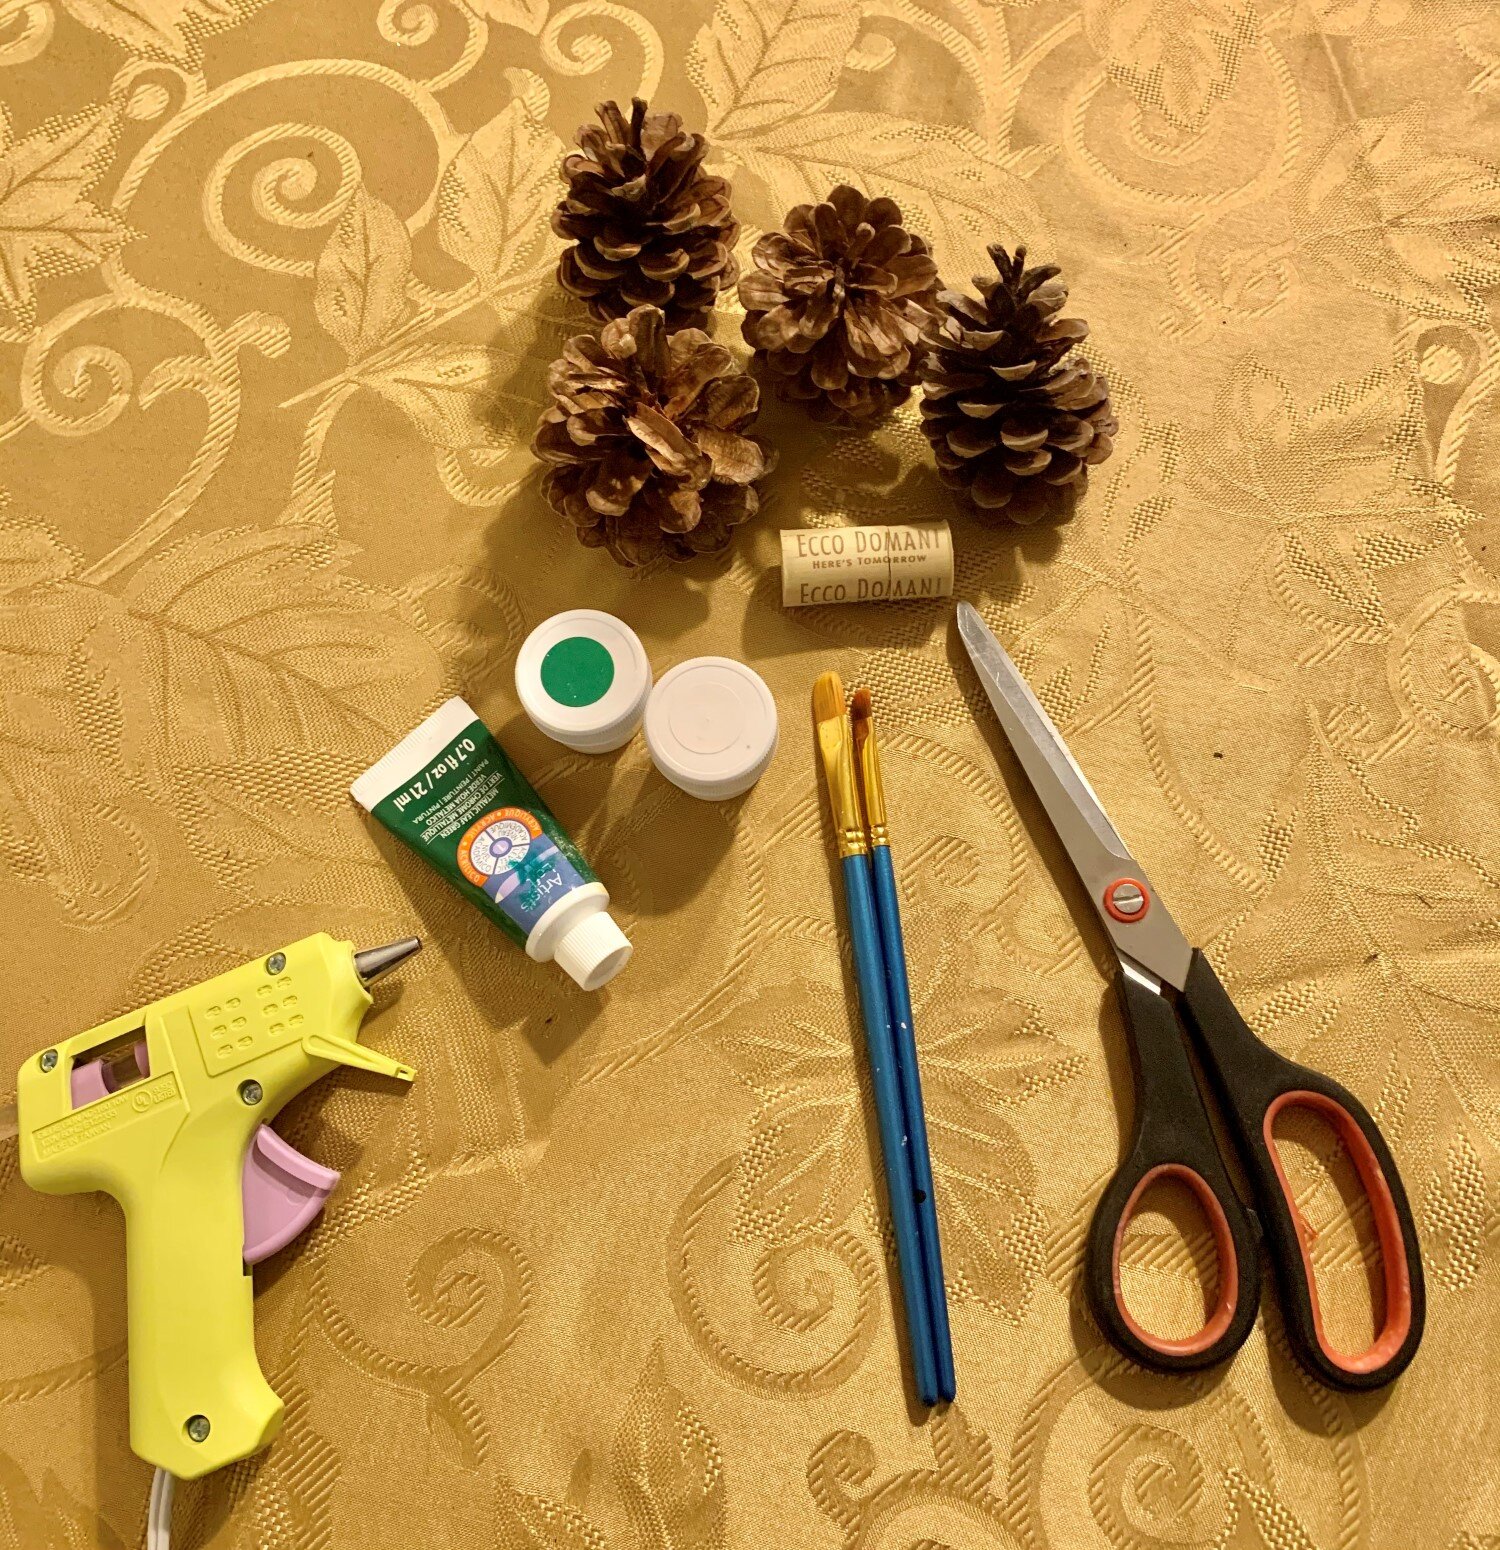
Pinecone Tree Decor
Materials:
Pinecone(s)
Corkscrew
White Paint
Paintbrush or Toothbrush
Scissors
Hot Glue
Instructions:
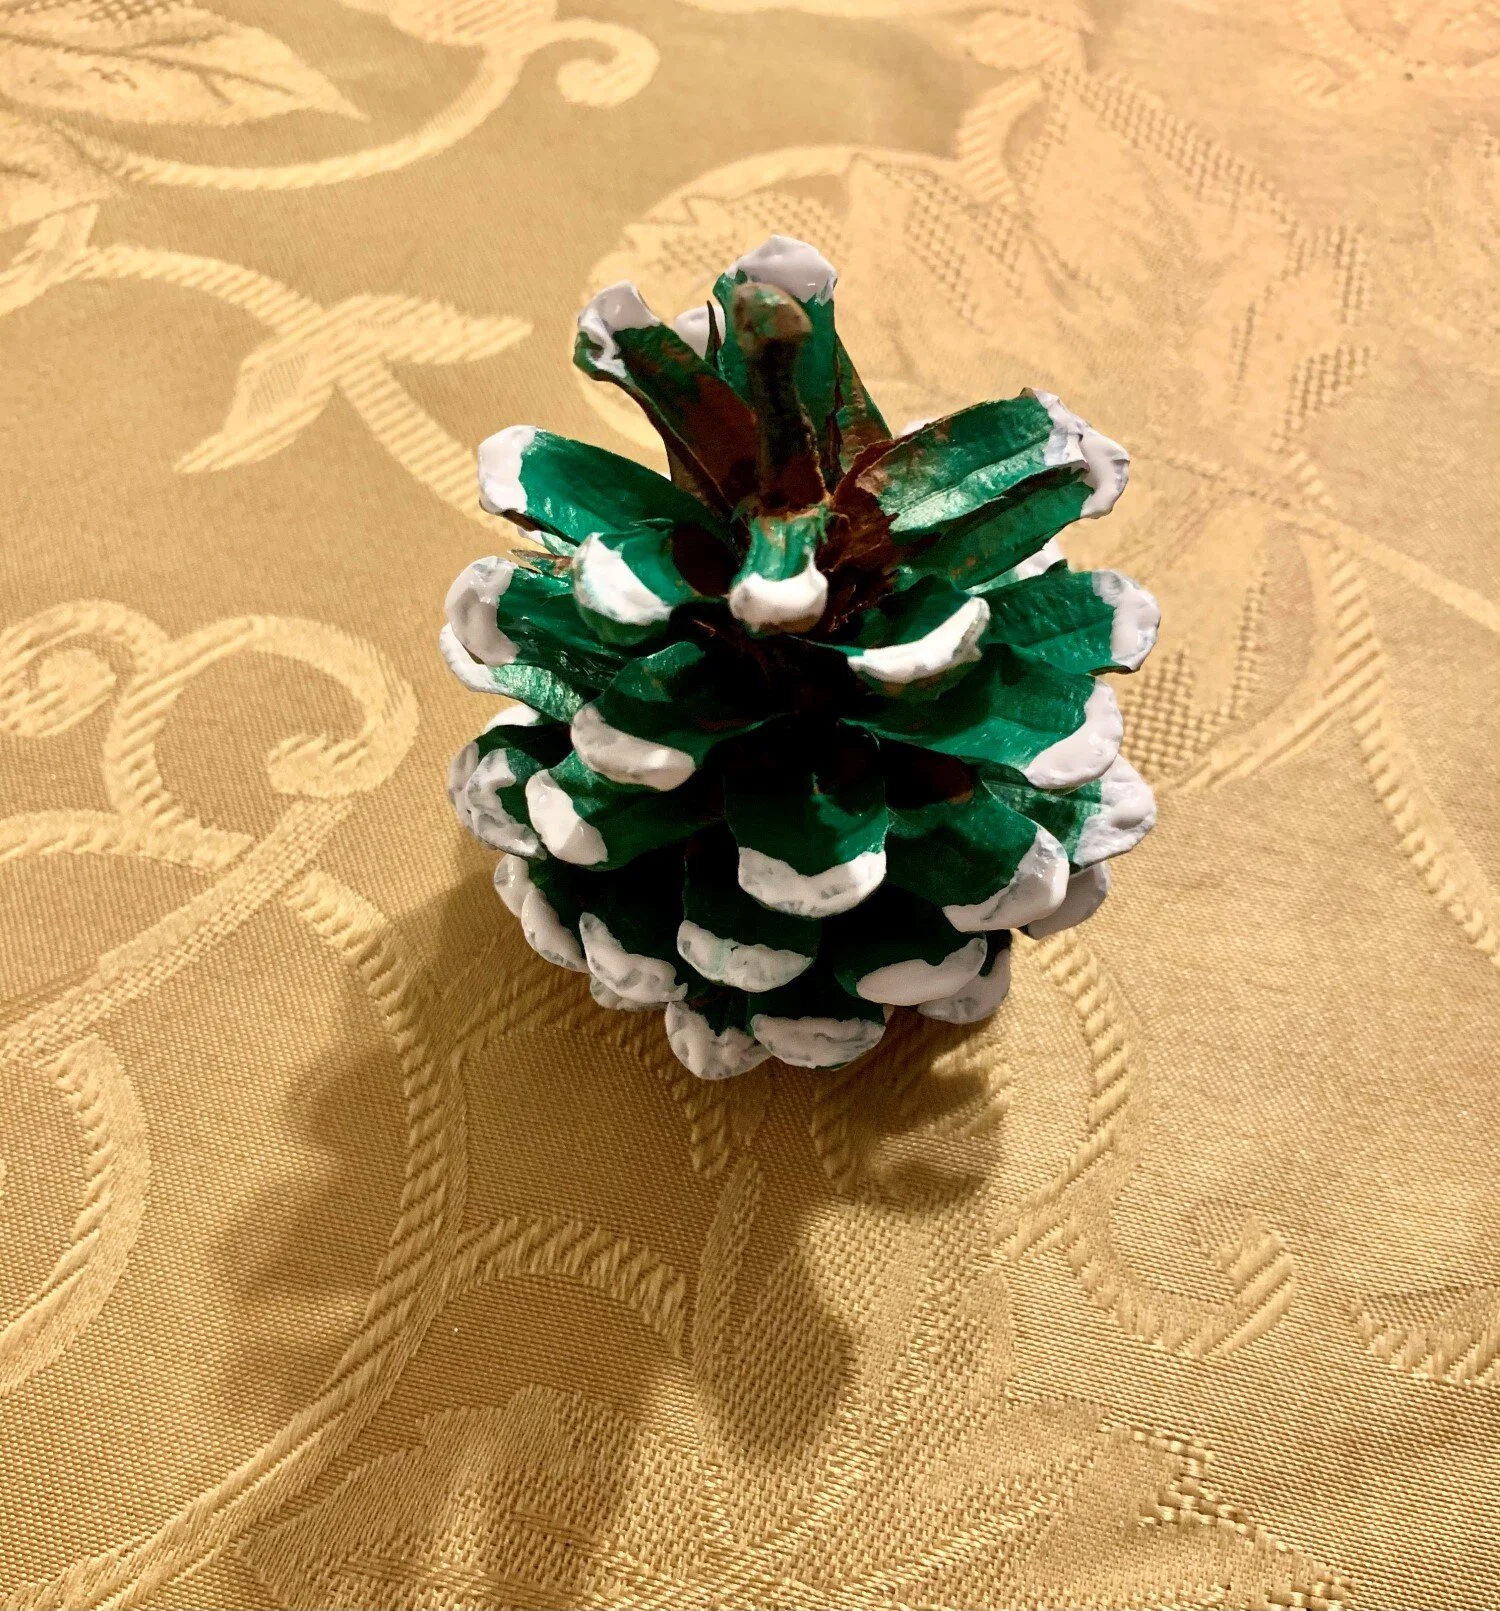
Step one: Paint the pinecone with green and white paint to look like snow on a tree. Allow to dry between each color so the colors do not mix (unless you want the colors to mix!) Be gentle because the pinecones are fragile.
Step two: Cut the corkscrew if needed. Glue the corkscrew to the bottom of the pinecone so it looks like a tree trunk.
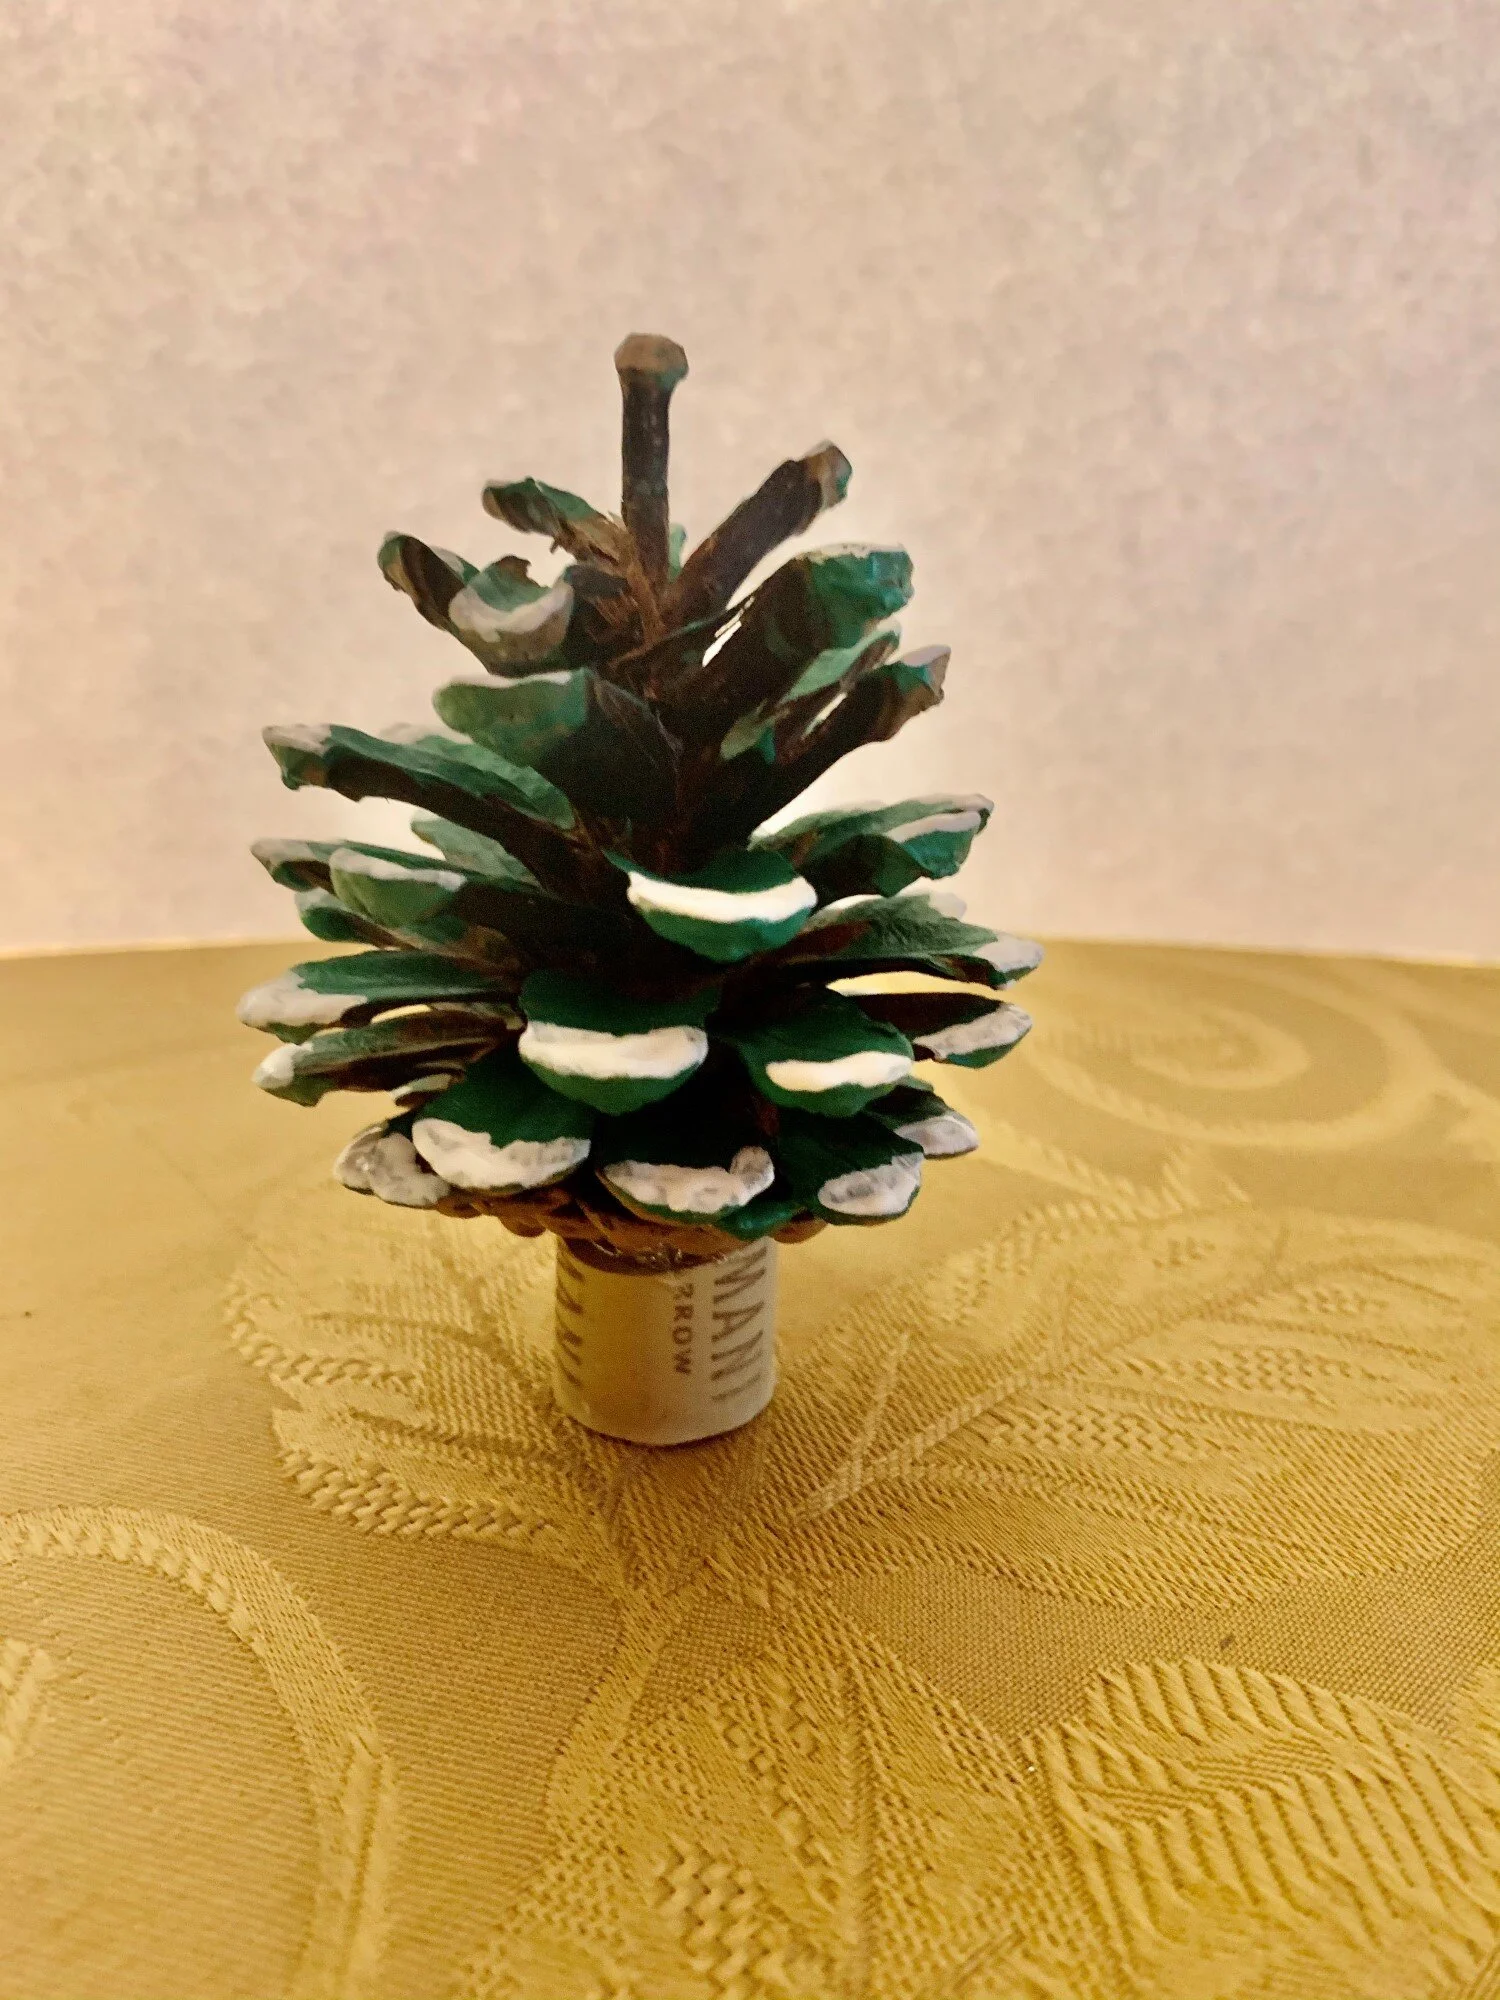
Step three: Place in the center of a table, on a desk, dresser, or nightstand, or wherever you feel like! If you would like, you can glue beads on the pinecone to look like ornaments!
Reindeer Rocks
Materials:
Rocks
Small Twigs
Paint
Paintbrushes
Hot Glue
Instructions:
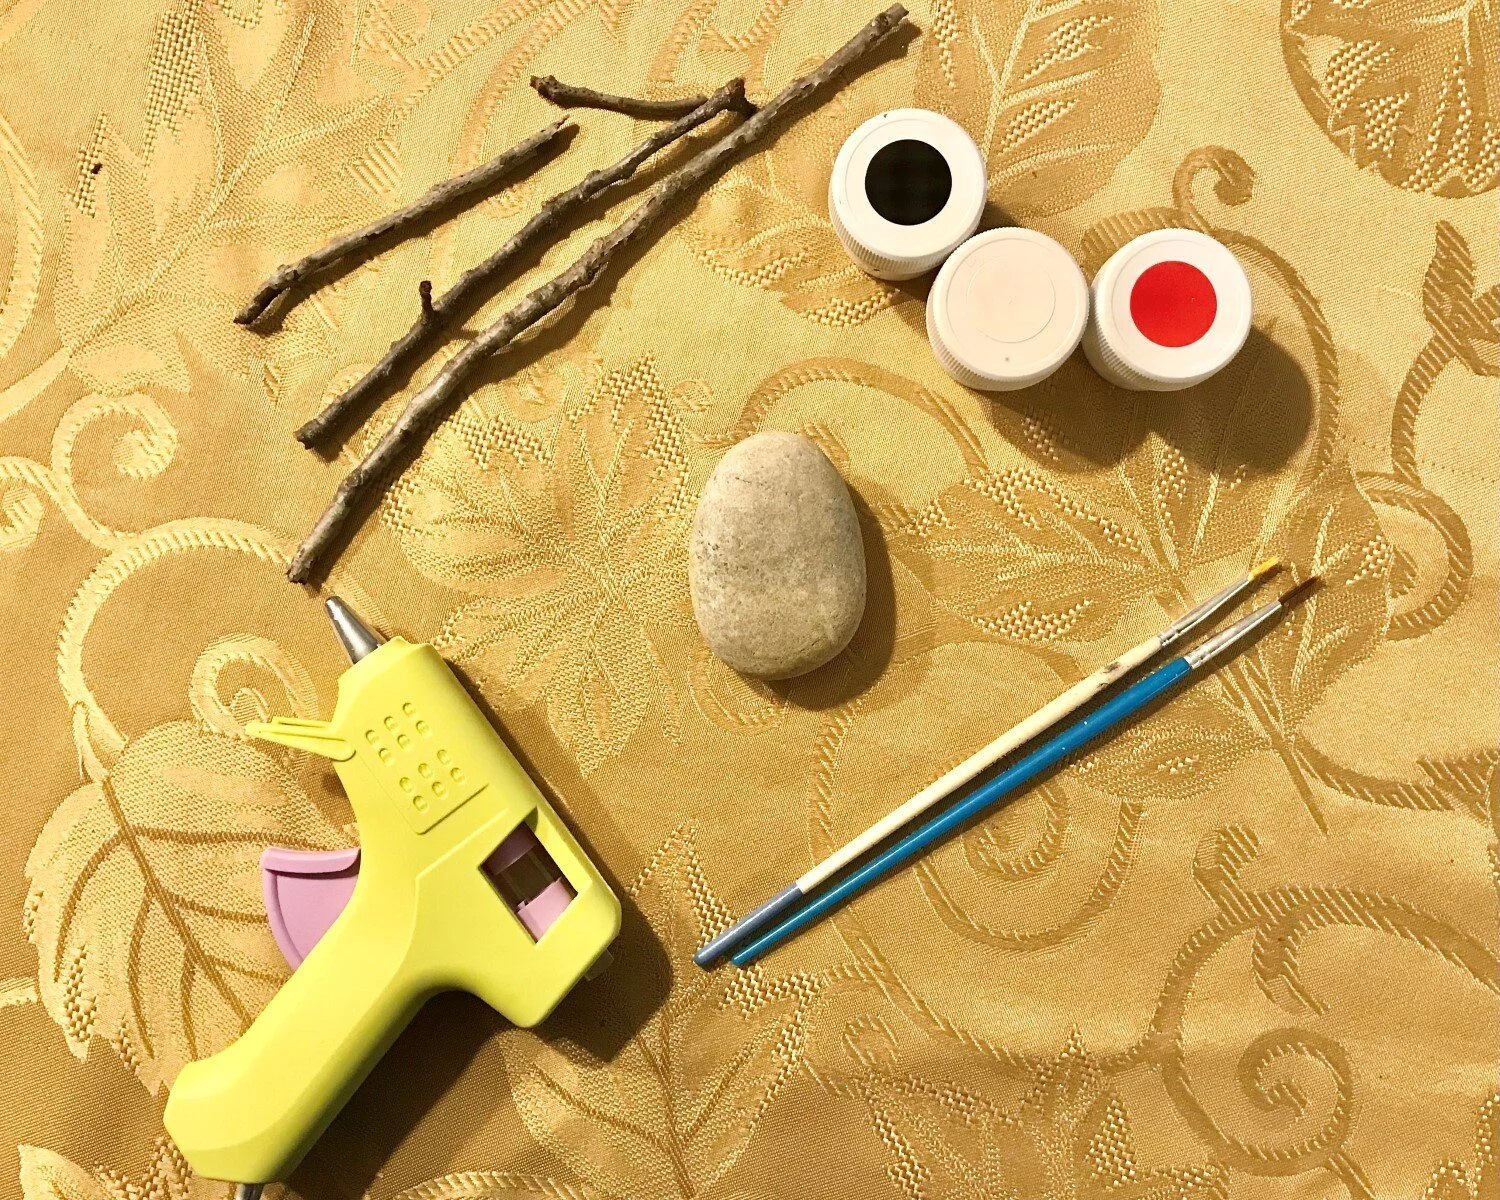
Step one: Get your supplies.

Step two: Paint a reindeer face on the rock.
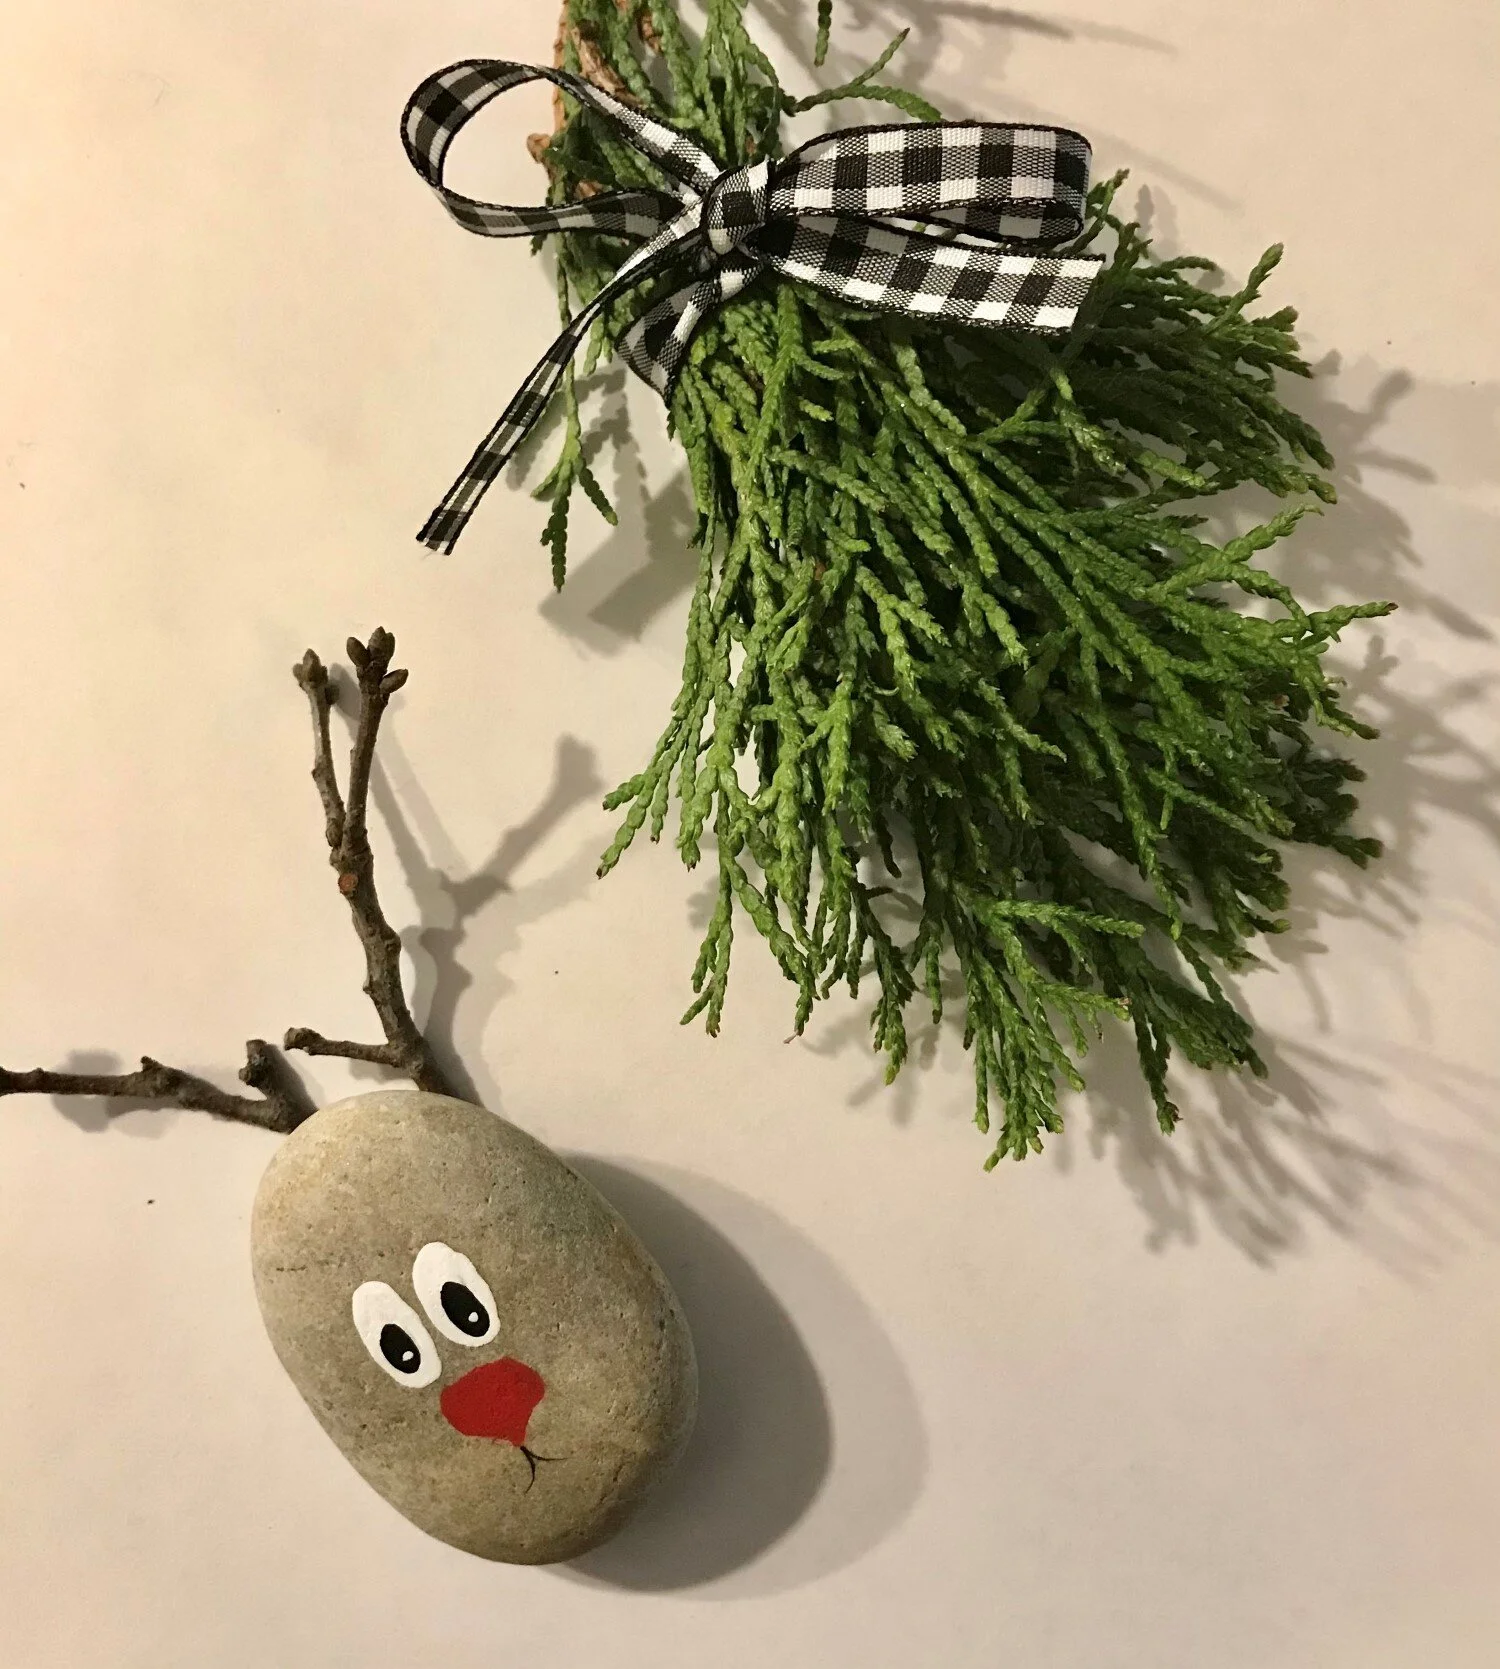
Step three: Glue the twigs on the back of the rock like they are the reindeer’s antlers. Place on your table as a piece of decor! Feel free to paint other animals and winter-themed images, like a polar bear, a penguin, snowflakes, a menorah, a kinara, a tree, a wreath, hot chocolate, and more, too!
Jar Lid Ornament
Materials:
Lid
Pictures, Paper, Map, Music Sheet, or Art
Paint or Tape (Optional)
Paintbrush
Mod Podge
Scissors
Ribbon, String, or Twine
Hot Glue
Optional: Rhinestones, Greenery, Sequins, etc.
Instructions:
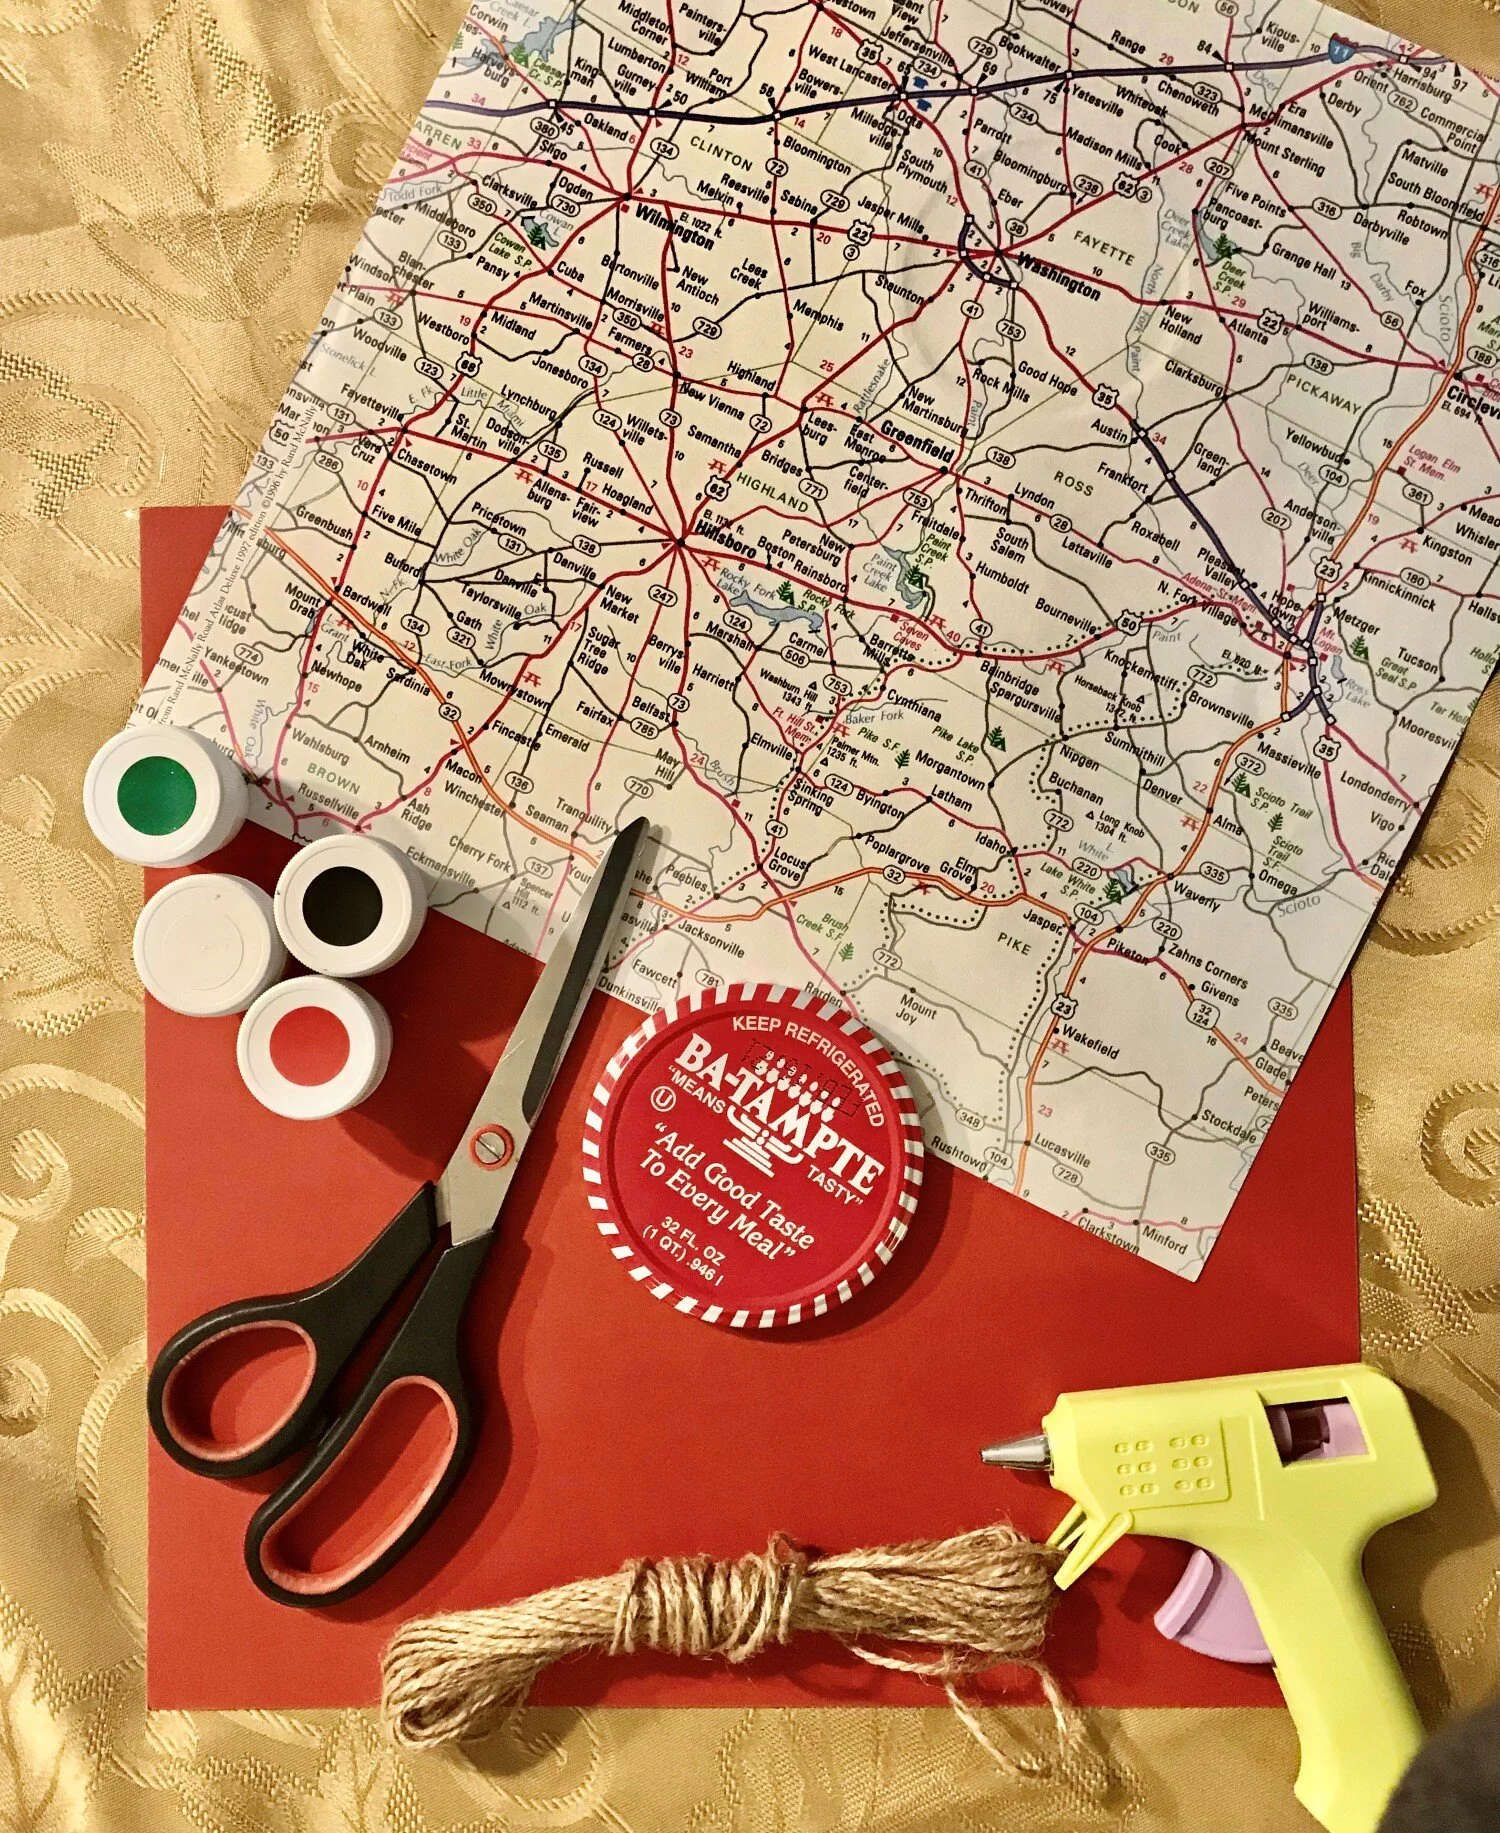
Step one: If you like, you can paint your lid a base coat. I used a pickle jar with red and white stripes on the lid, so I decided to pass this step. If you have colorful tape you can use that instead.
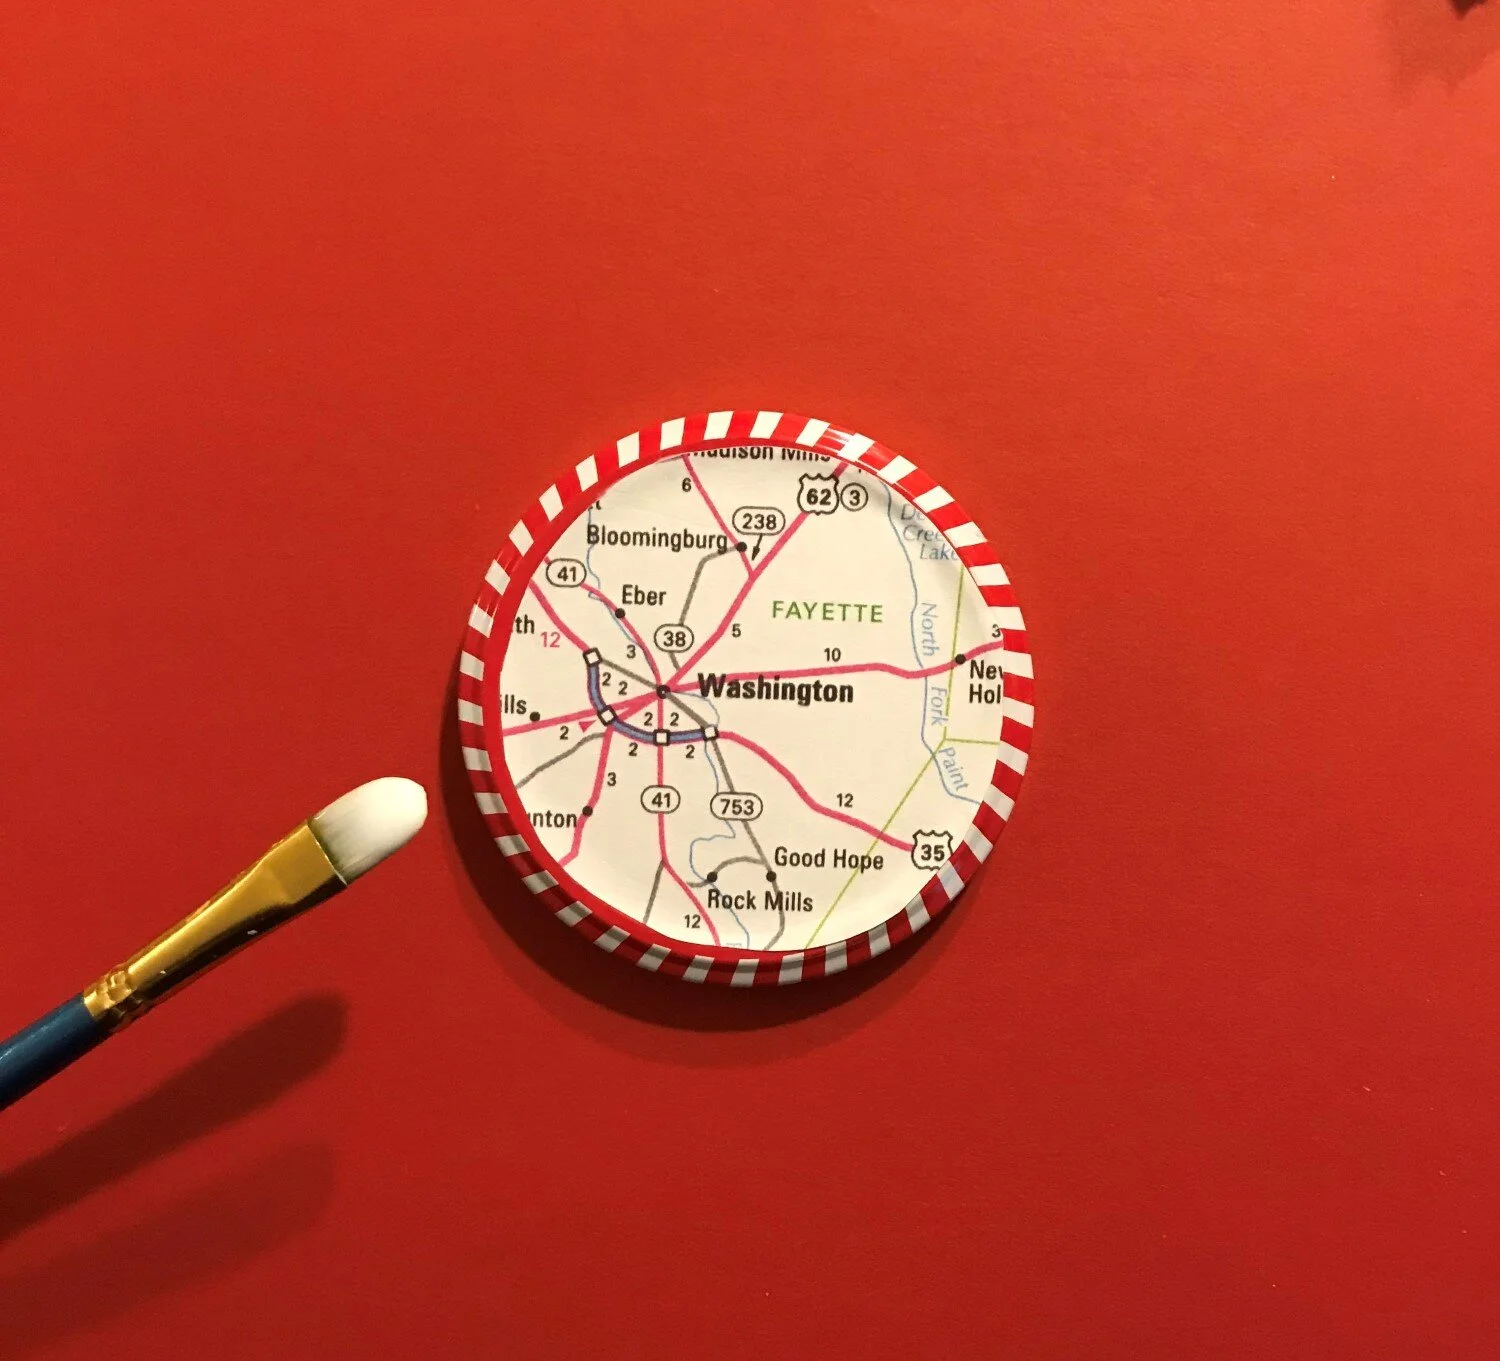
Step two: Measure your image so that it fits with the lid. If possible, push the paper into the lid so it fits within the size of the lid. Then, cut it out. I am using a piece of cardstock paper that looks like a map! Apply mod podge to the lid, then stick the picture on top of the lid. Coat the top of the image with mod podge.
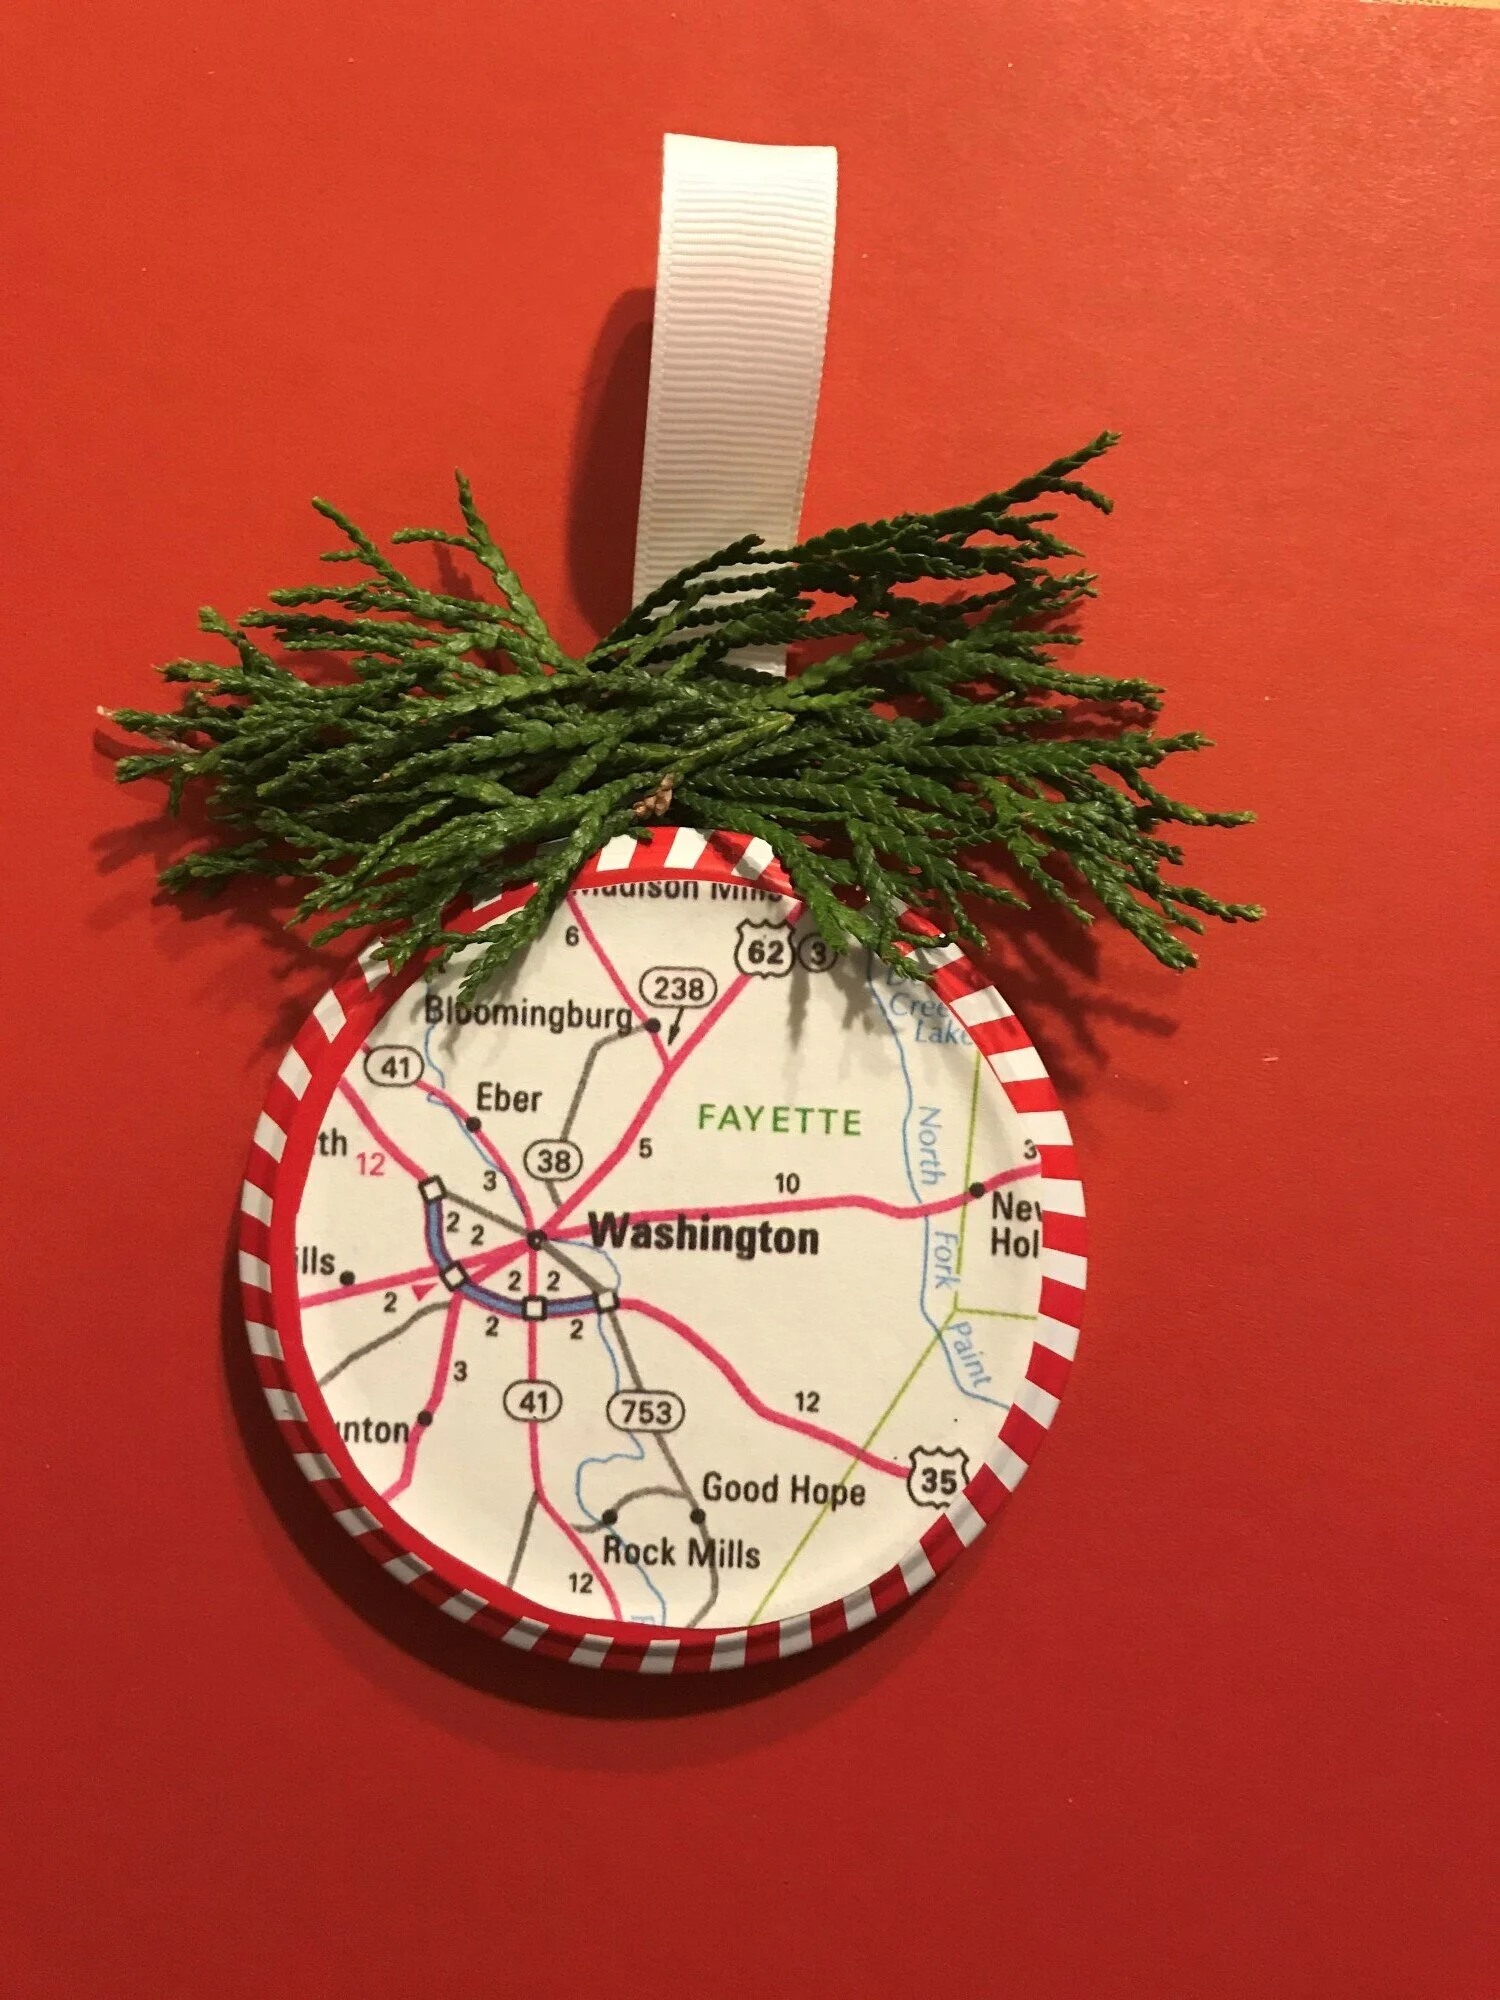
Step three: Cut a piece of ribbon or string and make a loop. Glue it to the other side of the lid. I added some greenery to decorate the ribbon a bit more. Feel free to add rhinestones and other small decorative items.

