


Decorative and Gift Boxes by Gabrielle McLean
The current ongoing pandemic means more people are making purchases online. With these purchases come a plethora of boxes, but do not throw out those boxes! You can upcycle them in a variety of ways, which helps the earth, saves you money, and allows you to be creative! You can give new life to that shoebox you have been hanging on to and use it for storage or even wrap it to use it as the container for a gift you give a loved one! It has been a tough year, so let all your stress out with these fun ways of changing up your room or office or spreading some joy with a gift. These methods can be used for holidays, birthdays, anniversaries, baby showers, weddings, and more!
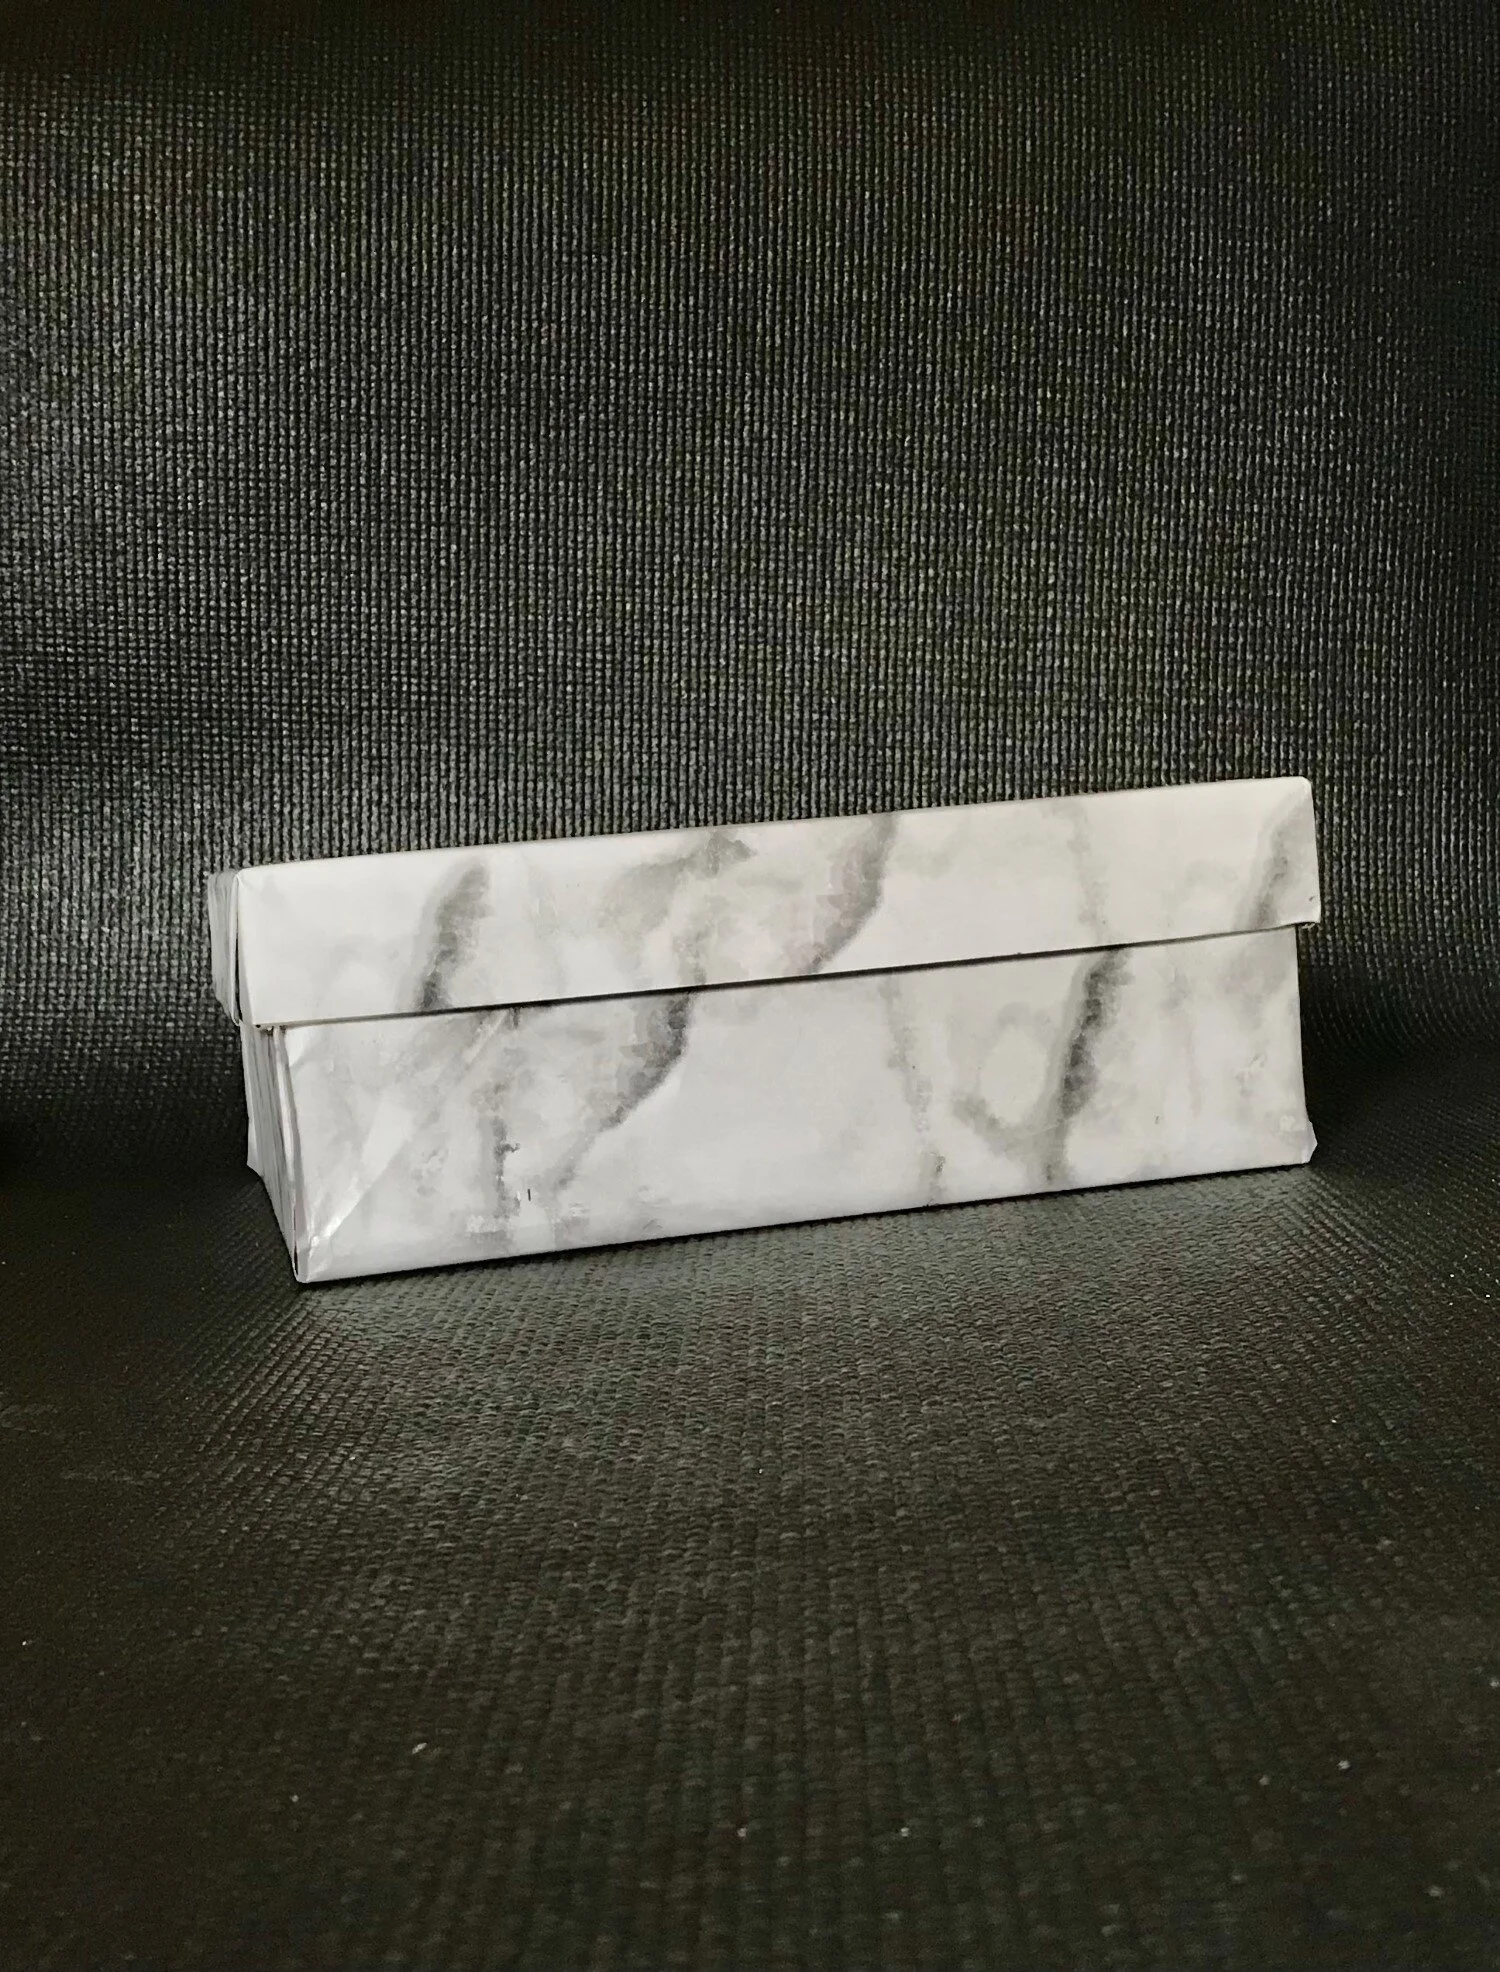
Decorative Storage Box
Materials:
Shoebox
Wrapping Paper or Other Large Sheets of Paper
Tape
Glue
Scissors
Instructions:

Step one:
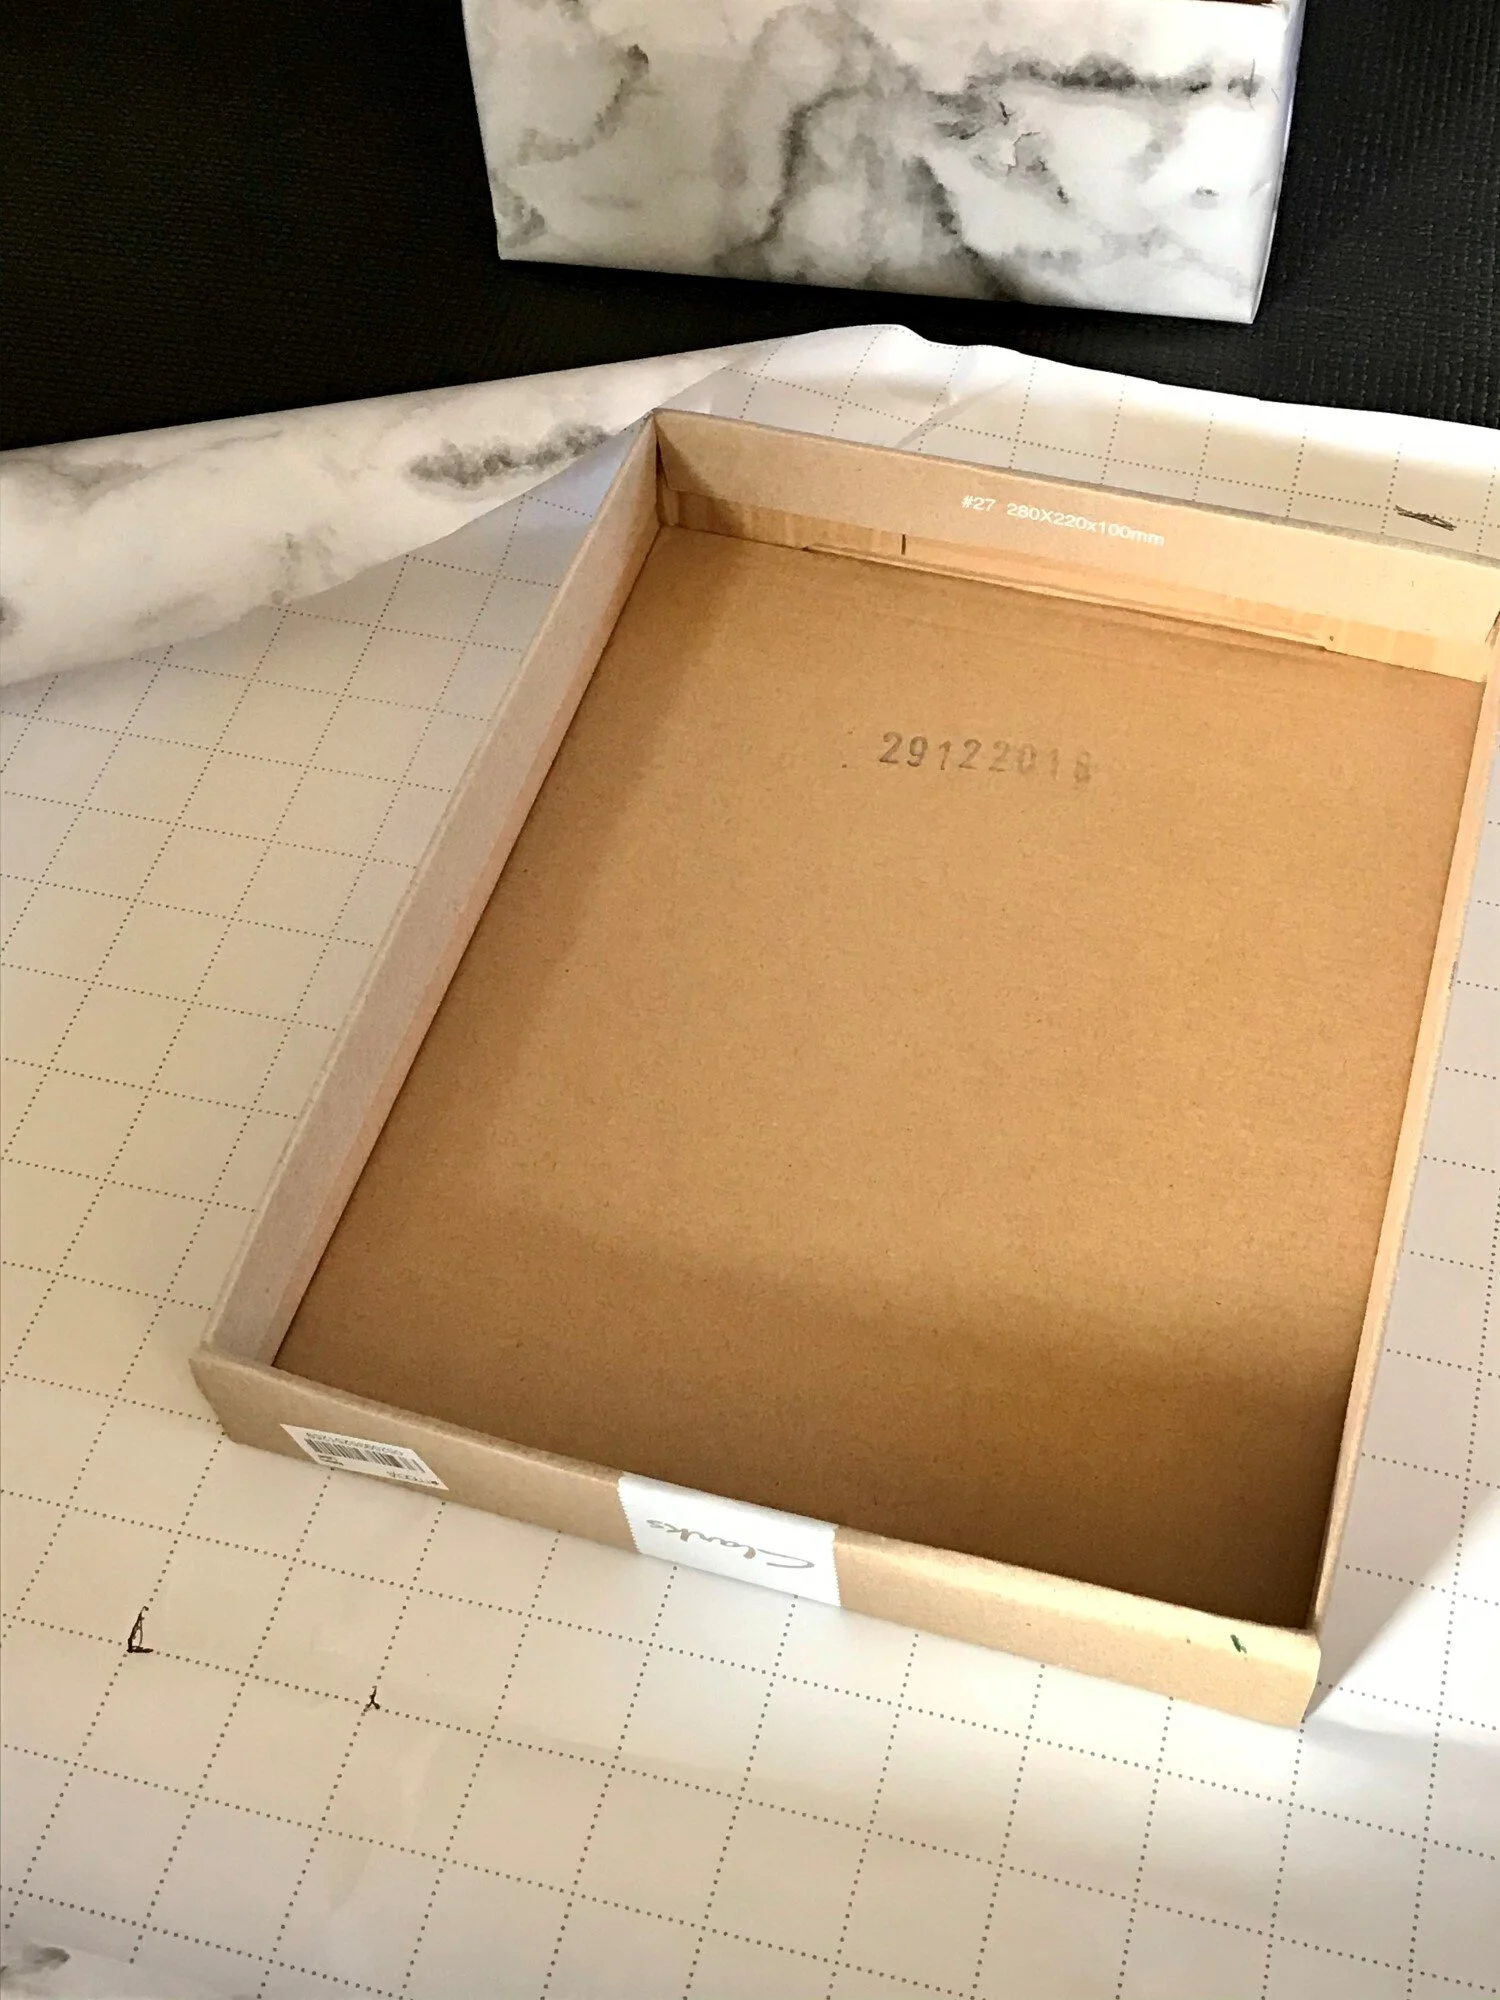
Measure your box against your paper so you can cut it. Fold the paper so the edge of the paper lines up with the edge of the top of the box. The excess on the sides can be cut off or folded.
Step two
Repeat the same steps on your lid.
Step three
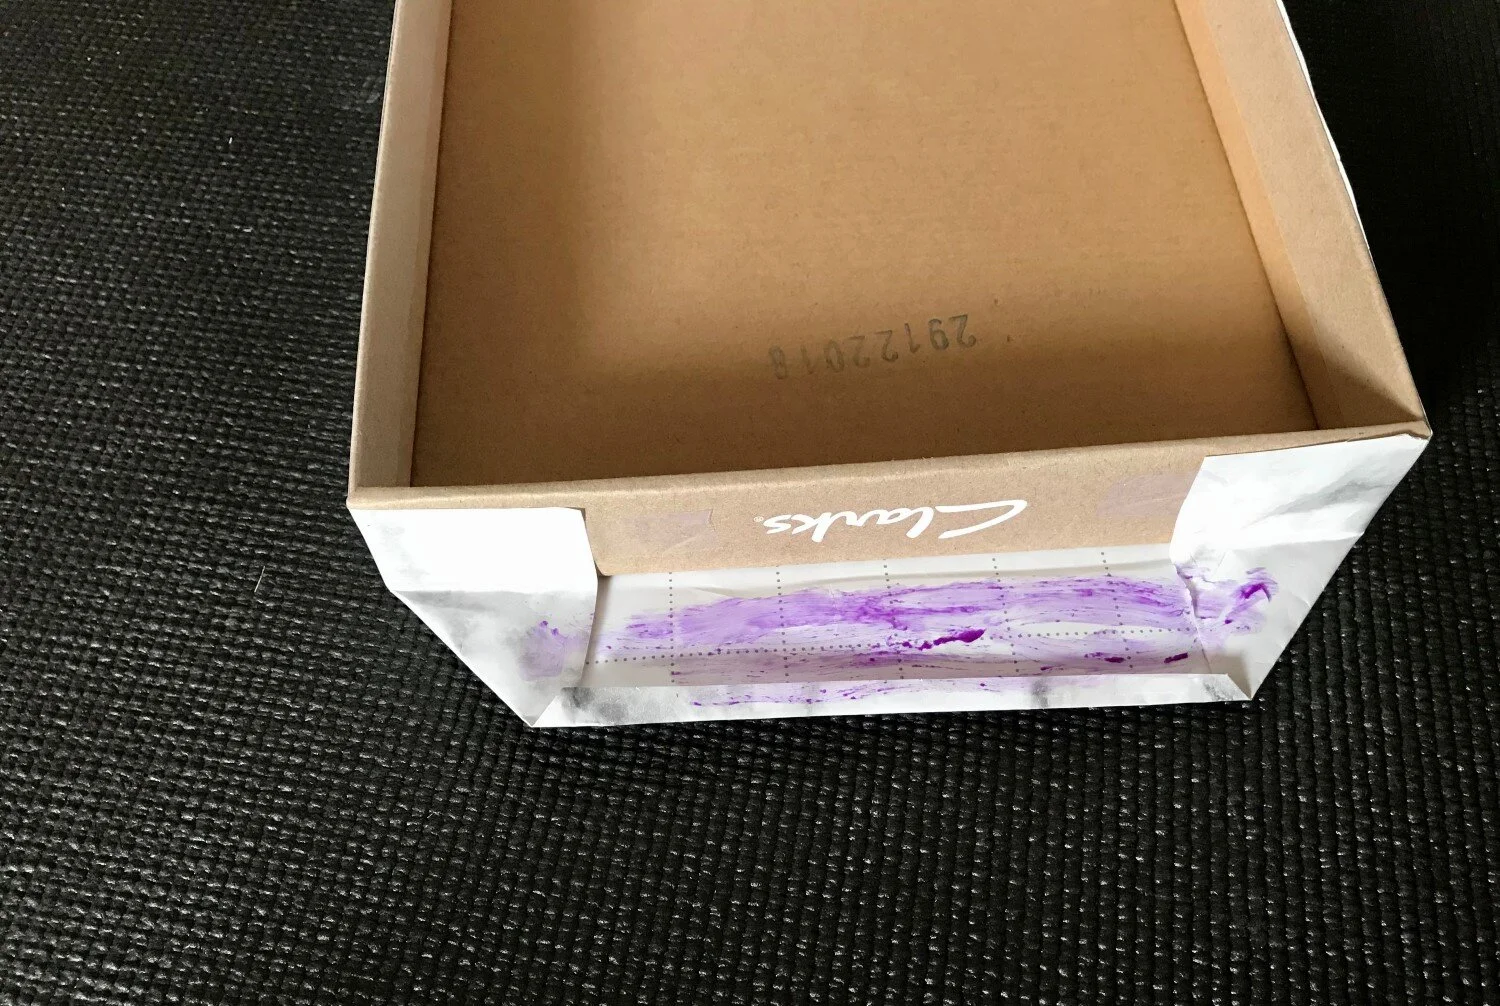
Adhere the paper to the box and lid. I have wrapped my paper under the lid and secured it with tape and glue. Depending on your box and the paper you choose you may want to not have this excess paper wrapped over the box because it may make it difficult to close your box. Test out both ways to see what works best for you!
Step four
Place your items of choice - maybe some small towels, paper, makeup, hairbrushes, a sewing kit, yarn, other craft items, etc. - in your box. Then, store your box.
Gift Box
Materials:
Box or Container
Wrapping Paper or Other Colorful Paper
Tape
Glue
Scissors
Tissue Paper
Bows or Ribbon
Instructions for Gift Box:

Step one: Measure and cut your paper so that it will fit the length and width of your container or box. Glue and/or tape the paper to the box or container.

Step two: Put tissue paper in your box or container.

Step three: Layout the gifts you want to place in the box or container. Place them in the box or container on top of the tissue paper. This will help them stay put, but feel free to add more tissue paper on top of the items, too!
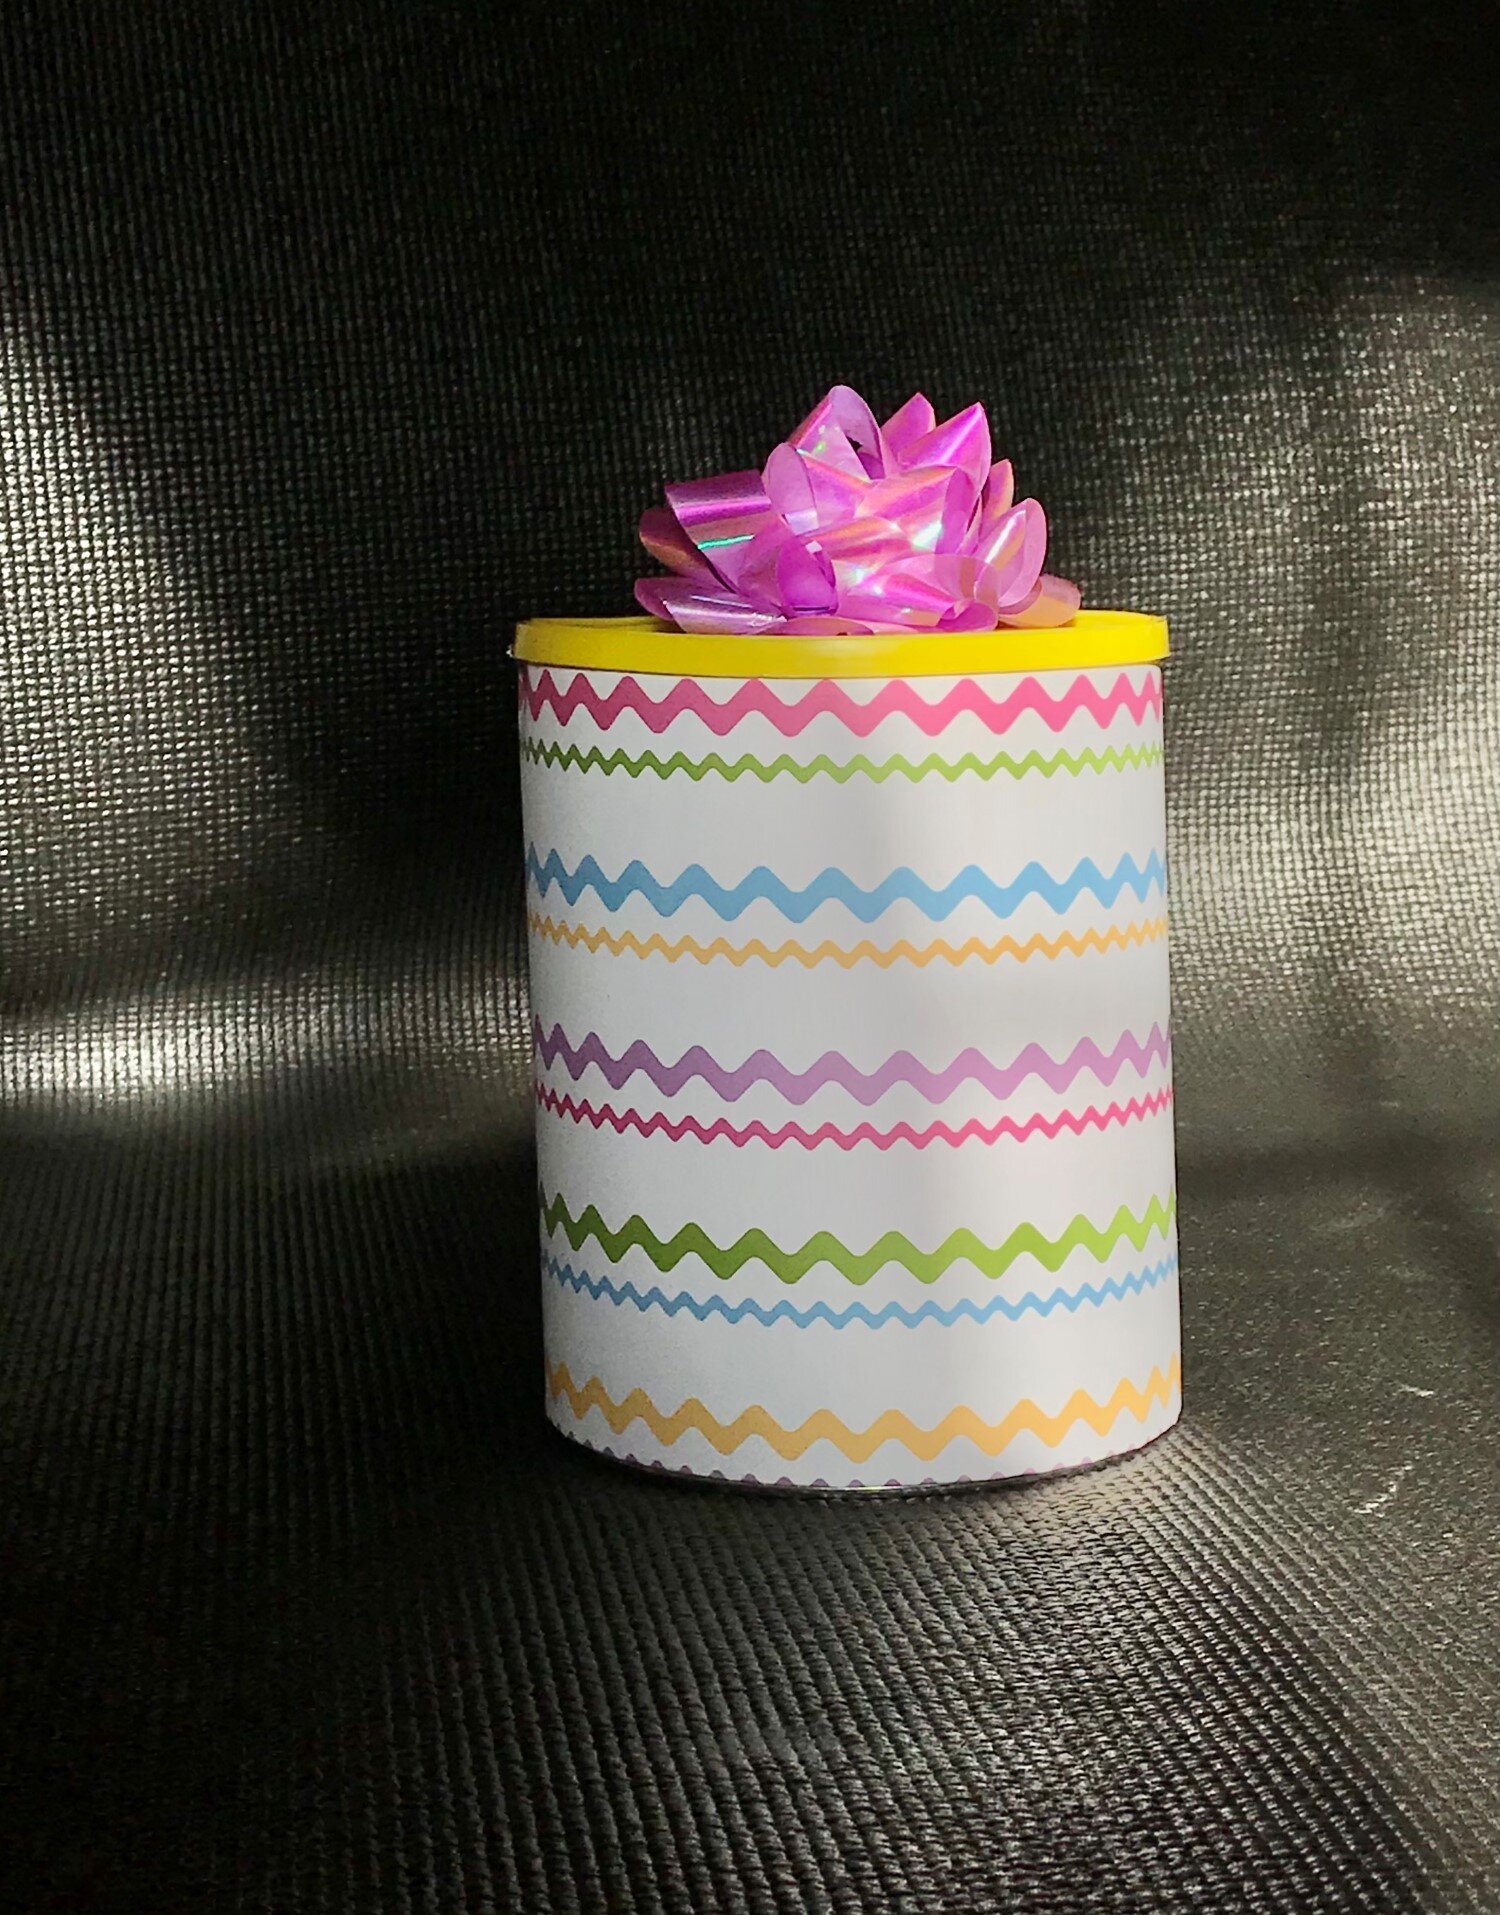
Step four: Add some ribbon or a bow on top of your box or container. Now the gift is all set! If you repeat these same steps, minus the tissue paper and gifts, you can make a decorative storage container similar to the storage box.
Instructions for Gift Box:

Step one: Cut the flaps off the top of the box.

Step two: Measure your wrapping paper a bit larger than the box so you have excess to fold into the box later.
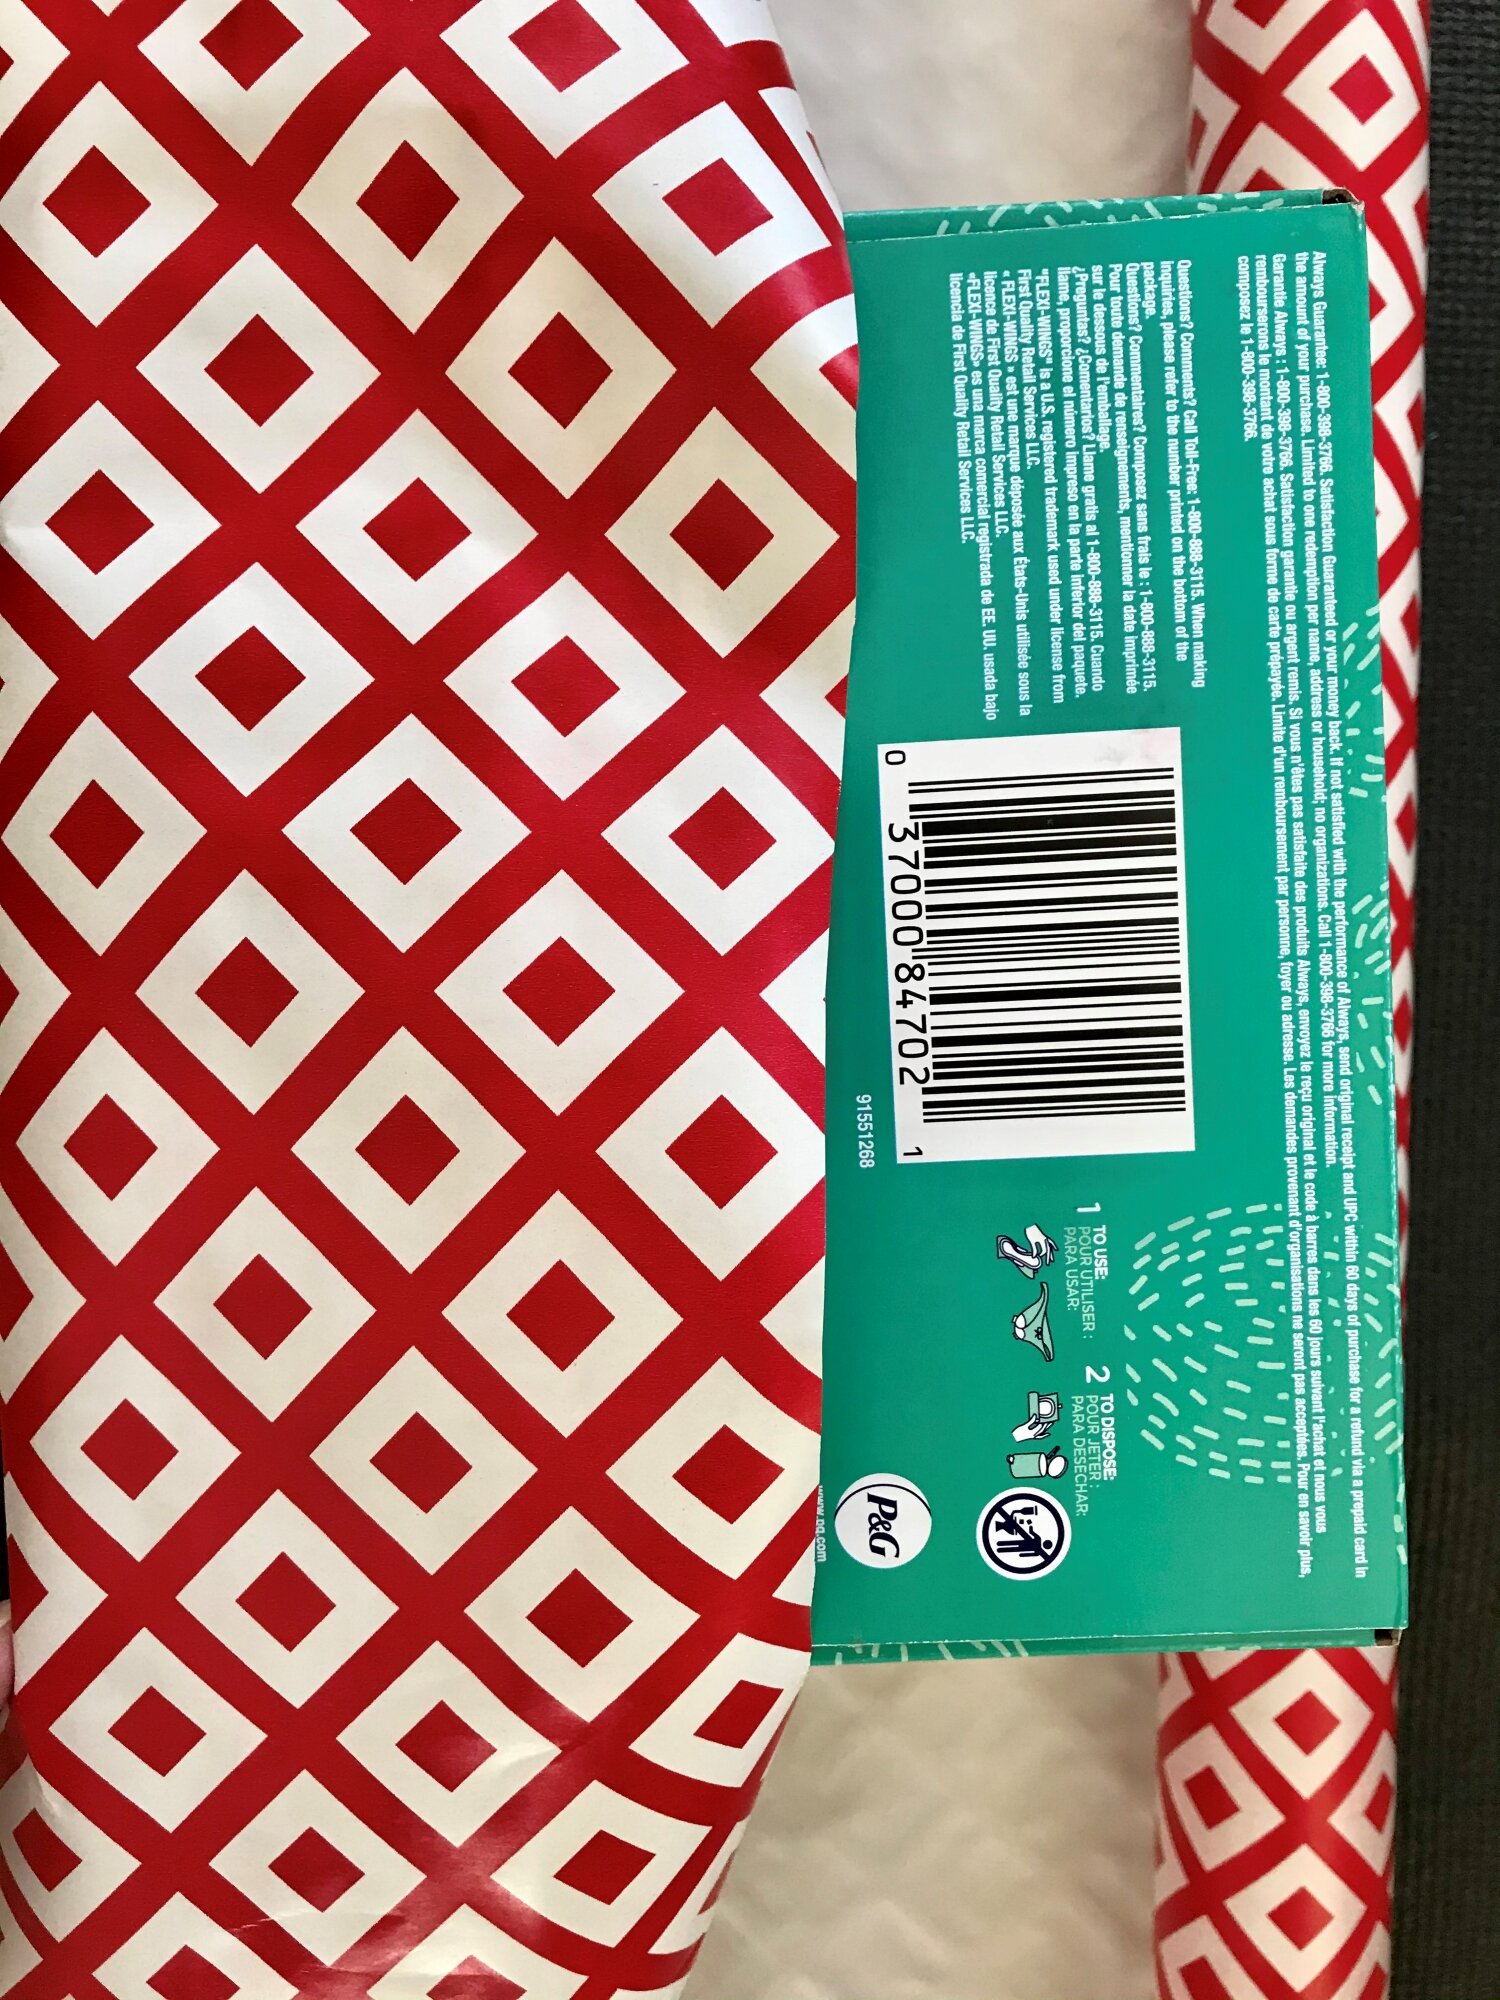
Step three: Place the open top of the box face down on the wrapping paper so you cannot see that one side is missing. Pull the wrapping paper over the box and tape it.
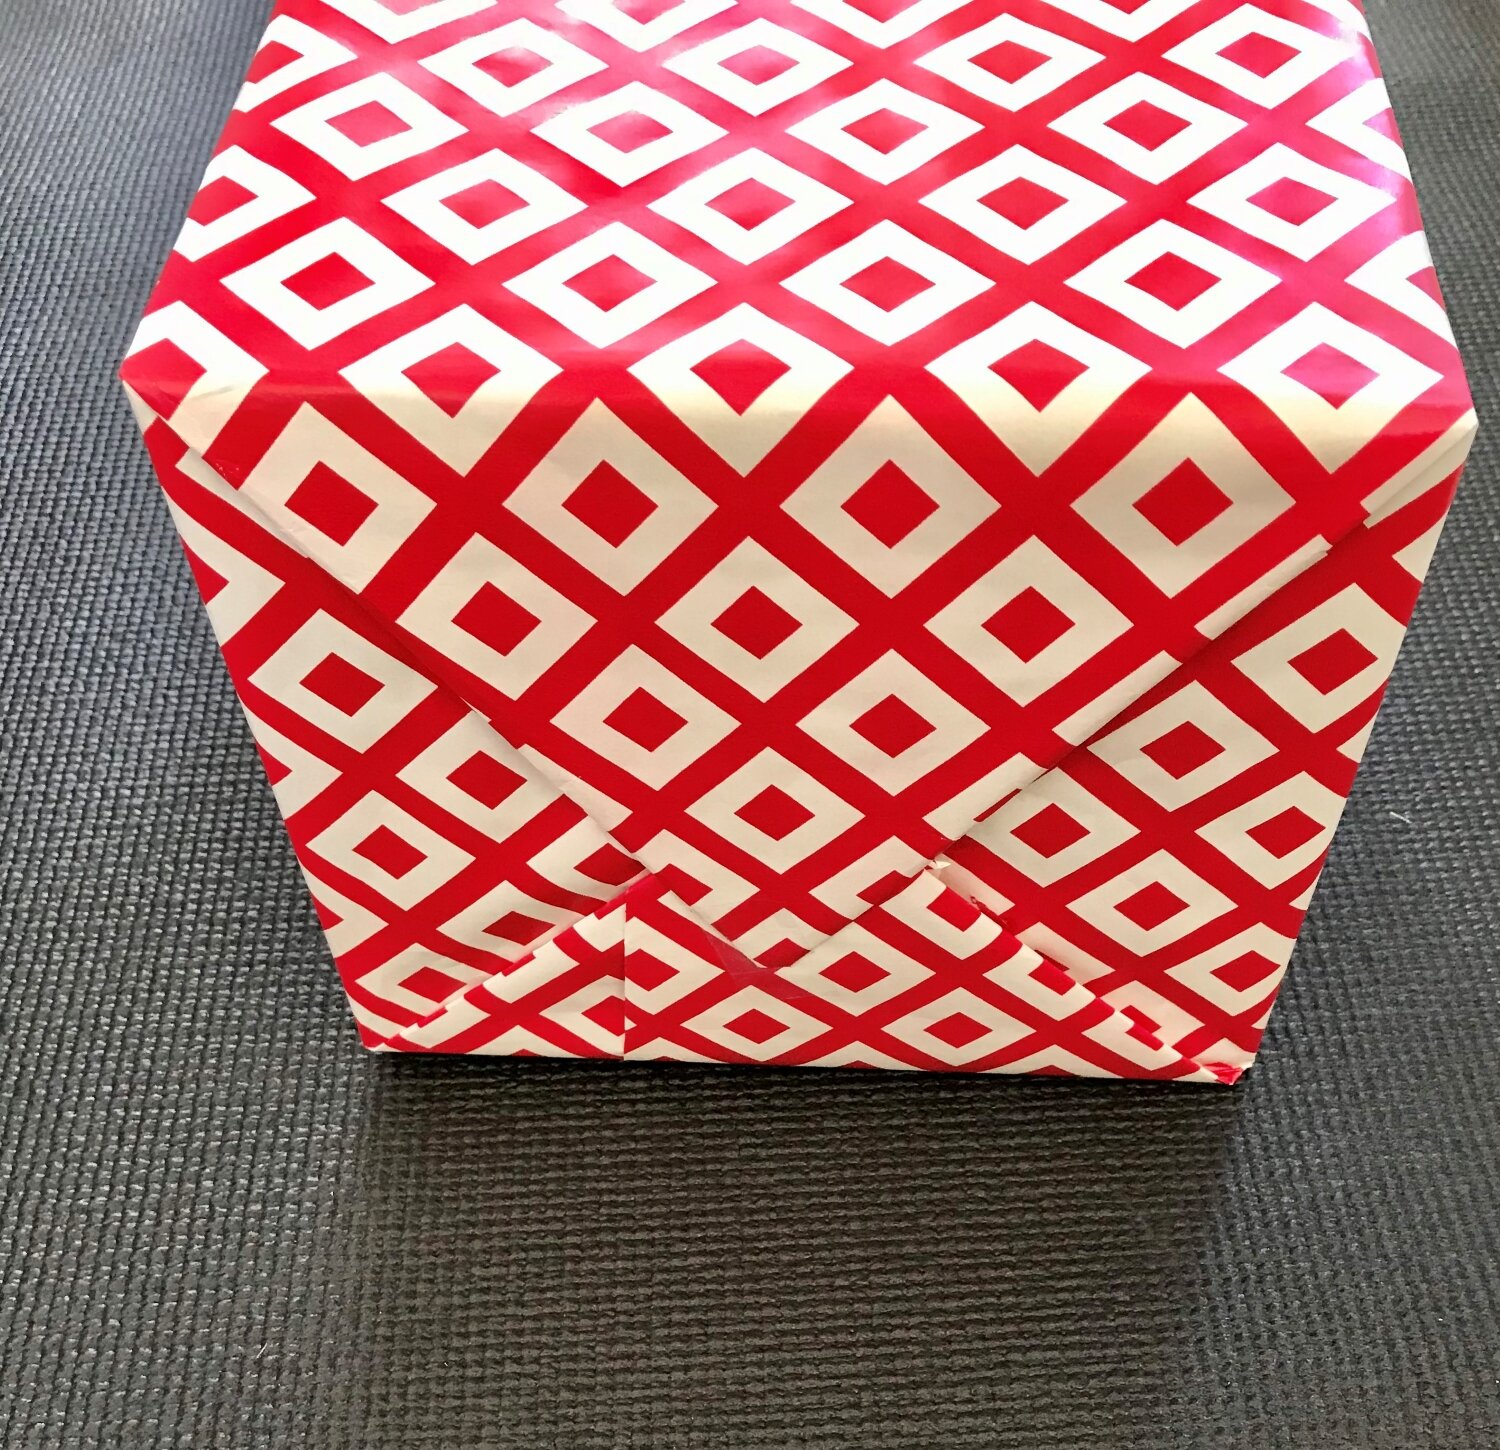
Step four: Wrap as you would a present.
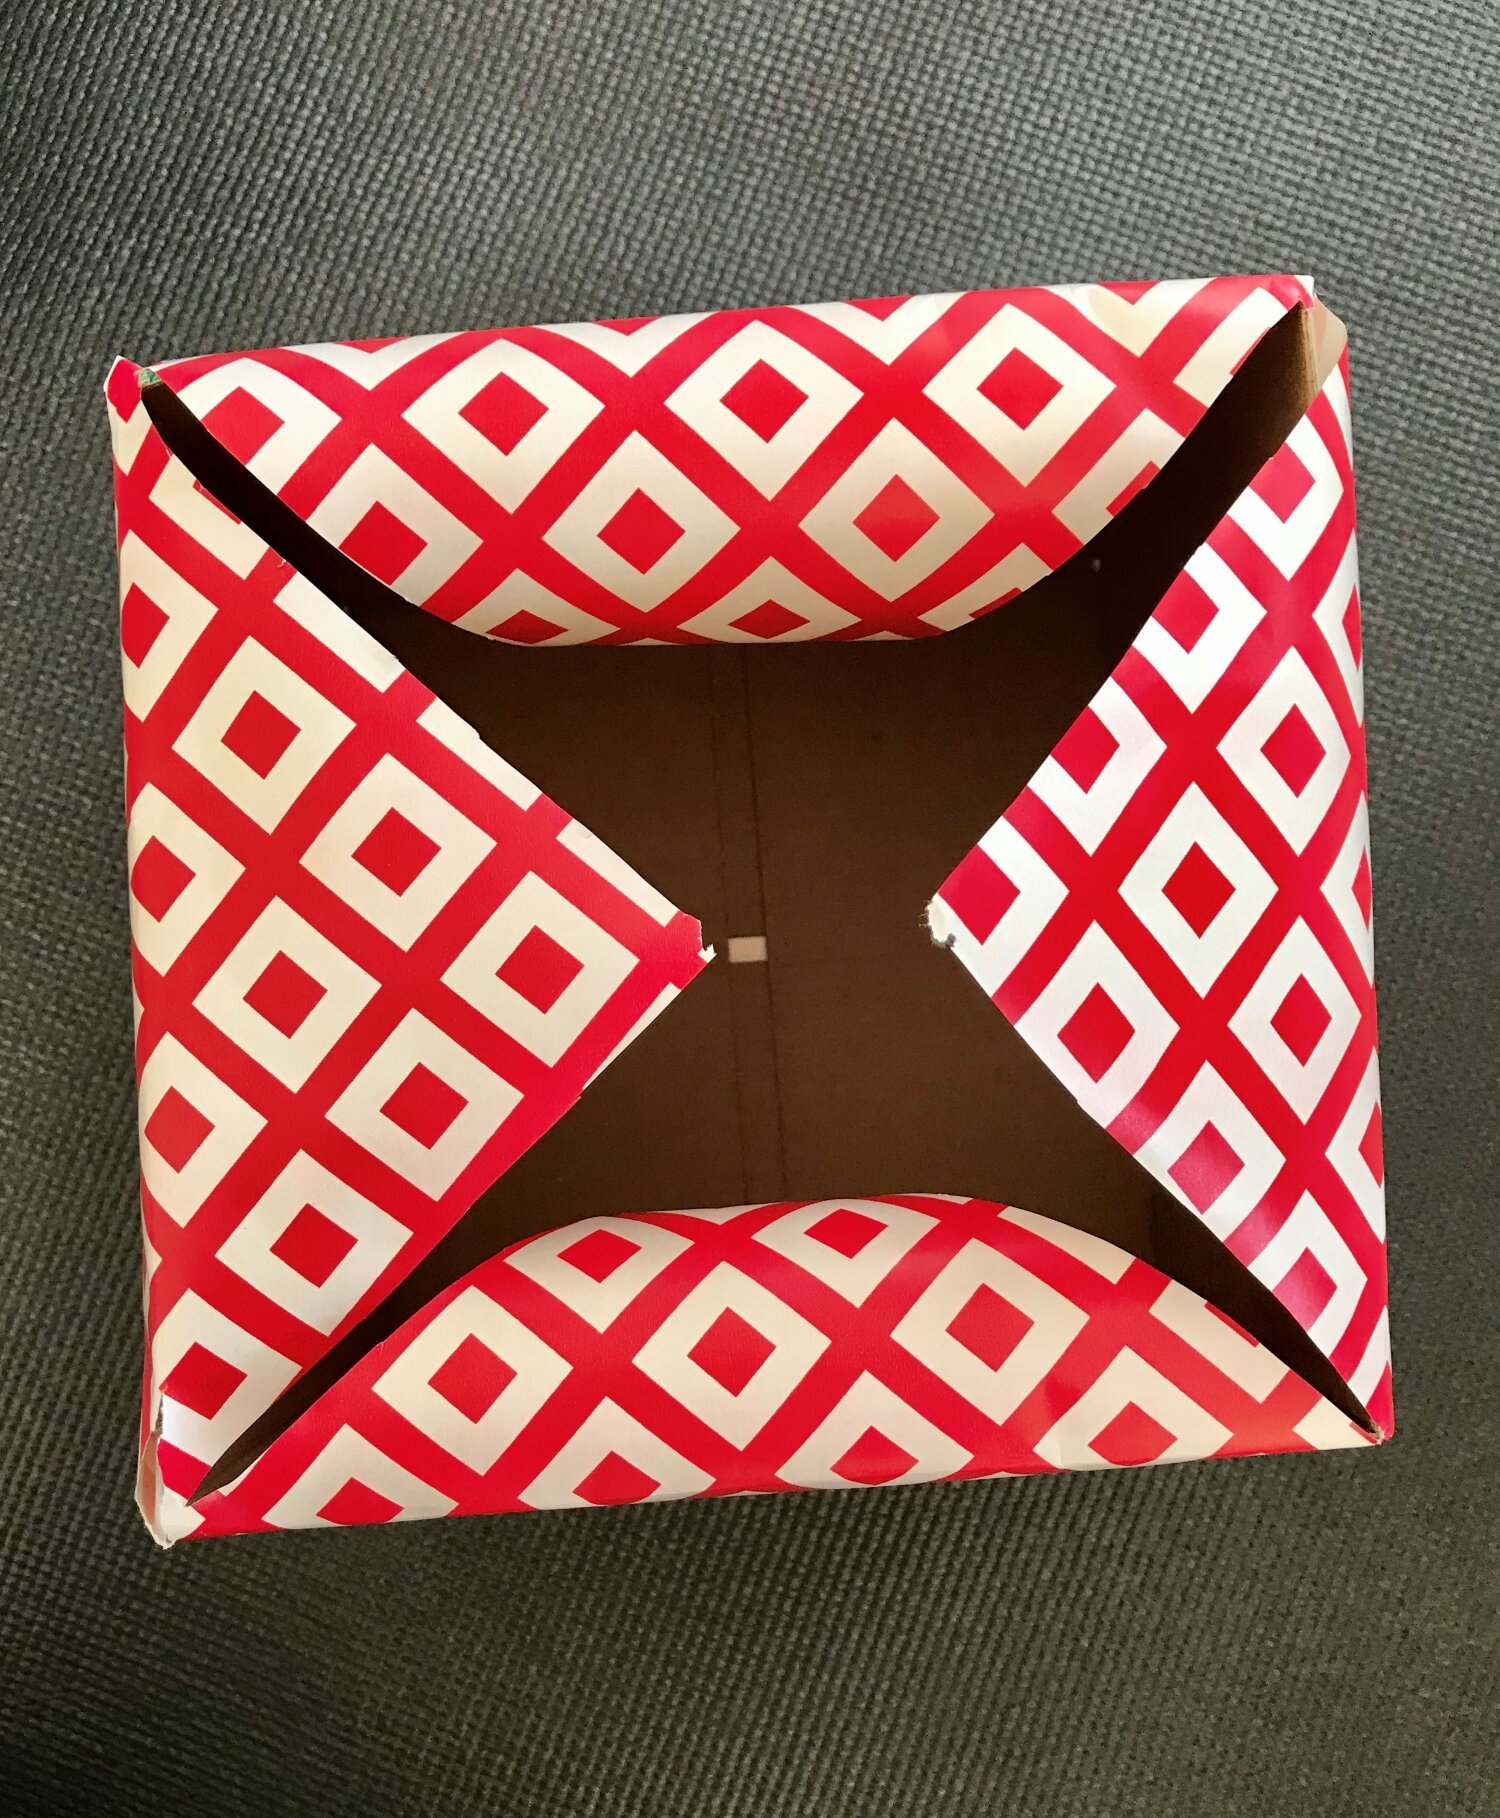
Step five: Cut an X shape on the open side of the box. Begin by poking a hole in the middle and then cut towards each corner.

Step six: Tape these pieces to the inside of the box.
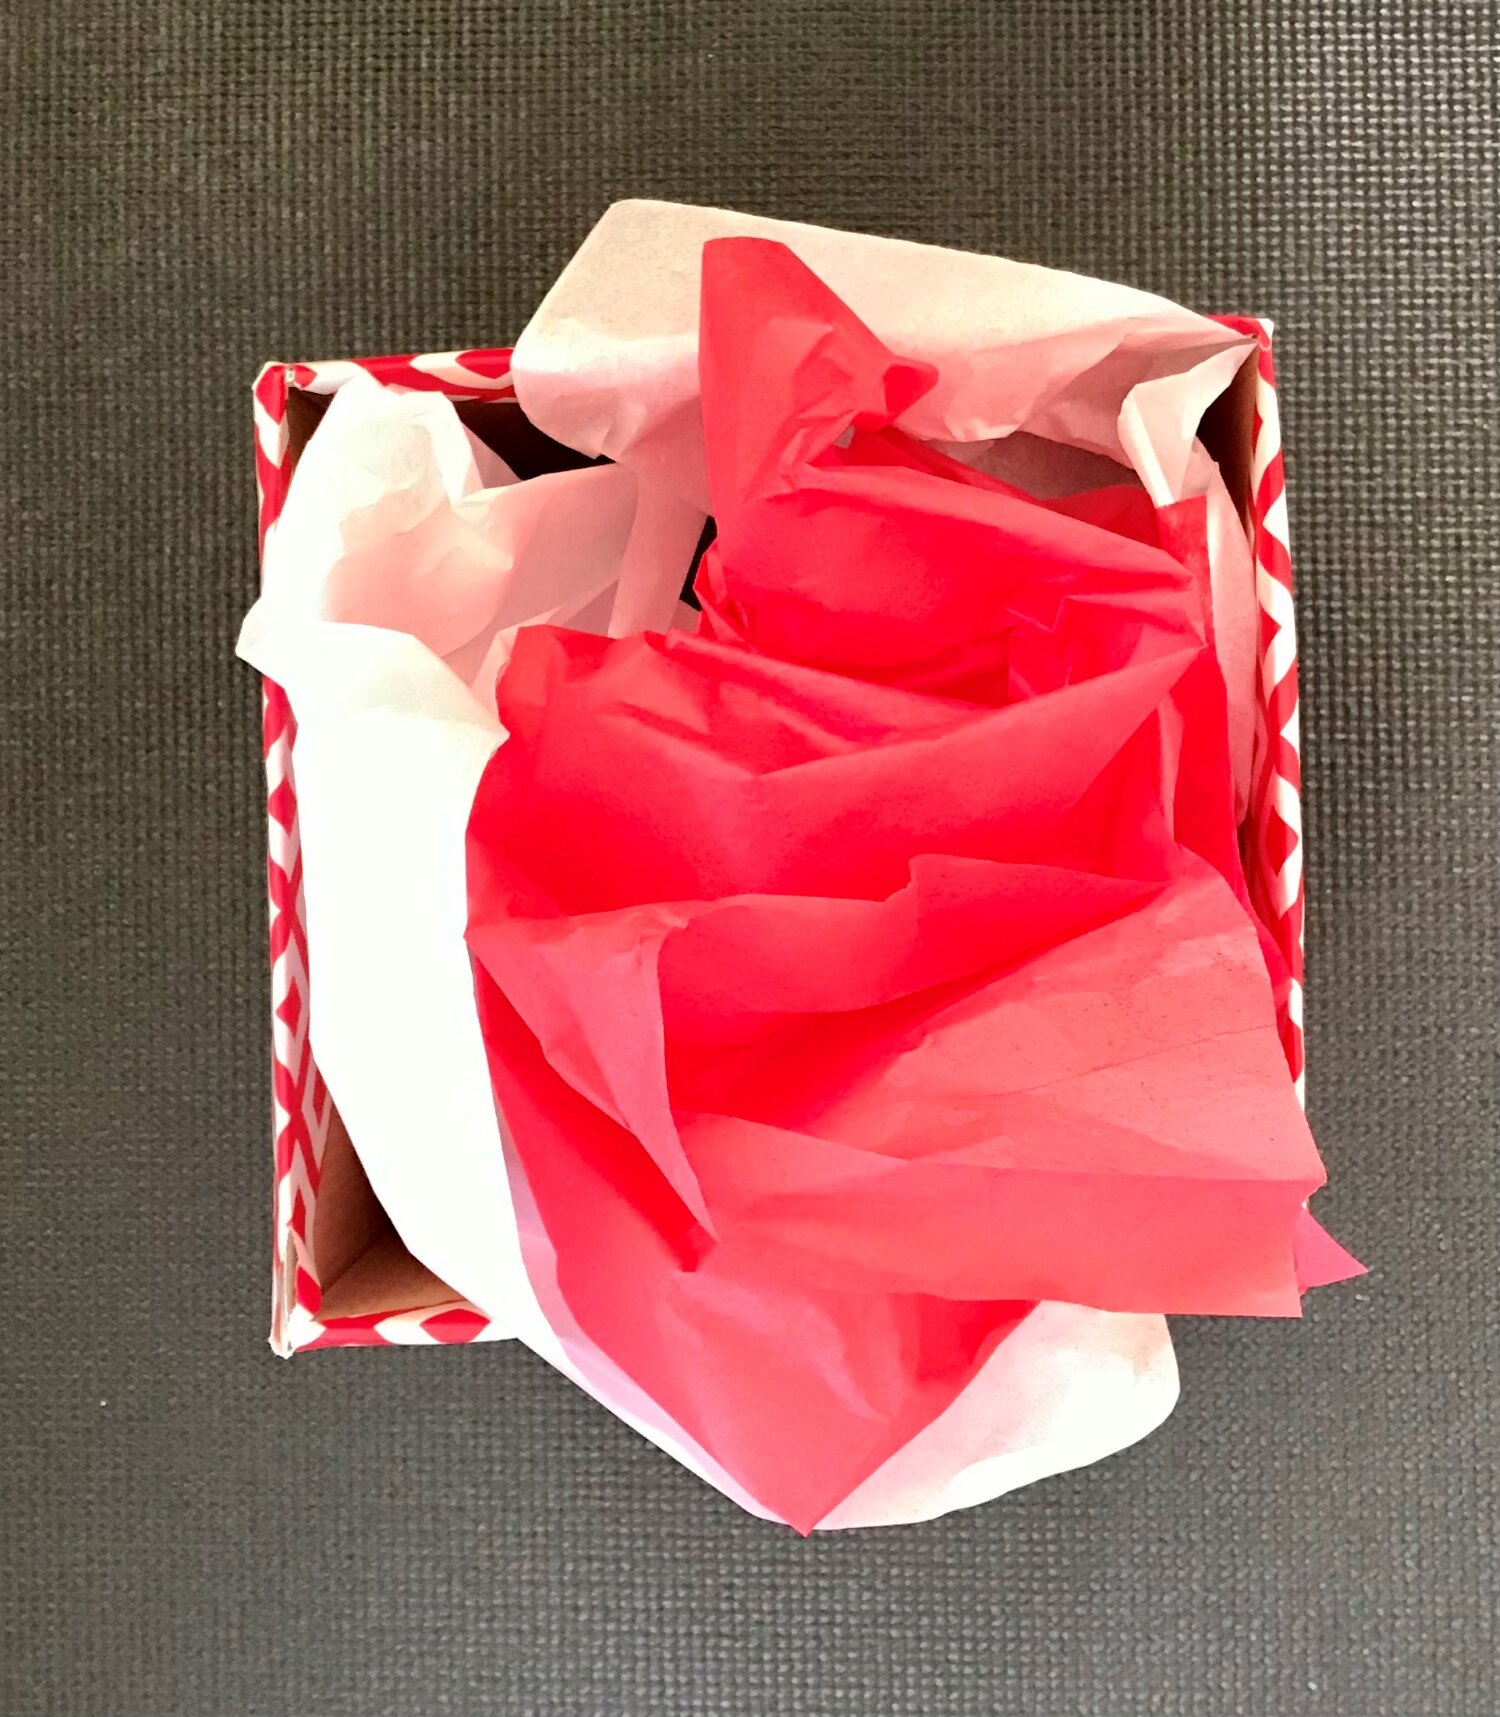
Step seven: Place tissue paper in the box.

Step eight: Place the gift in the box.

Step nine: Place a bow on the box.

Step ten: An alternative to placing a bow on the box is wrapping some plastic wrap around the box and tying it with some ribbon. Then, you can give the present to your loved ones!

