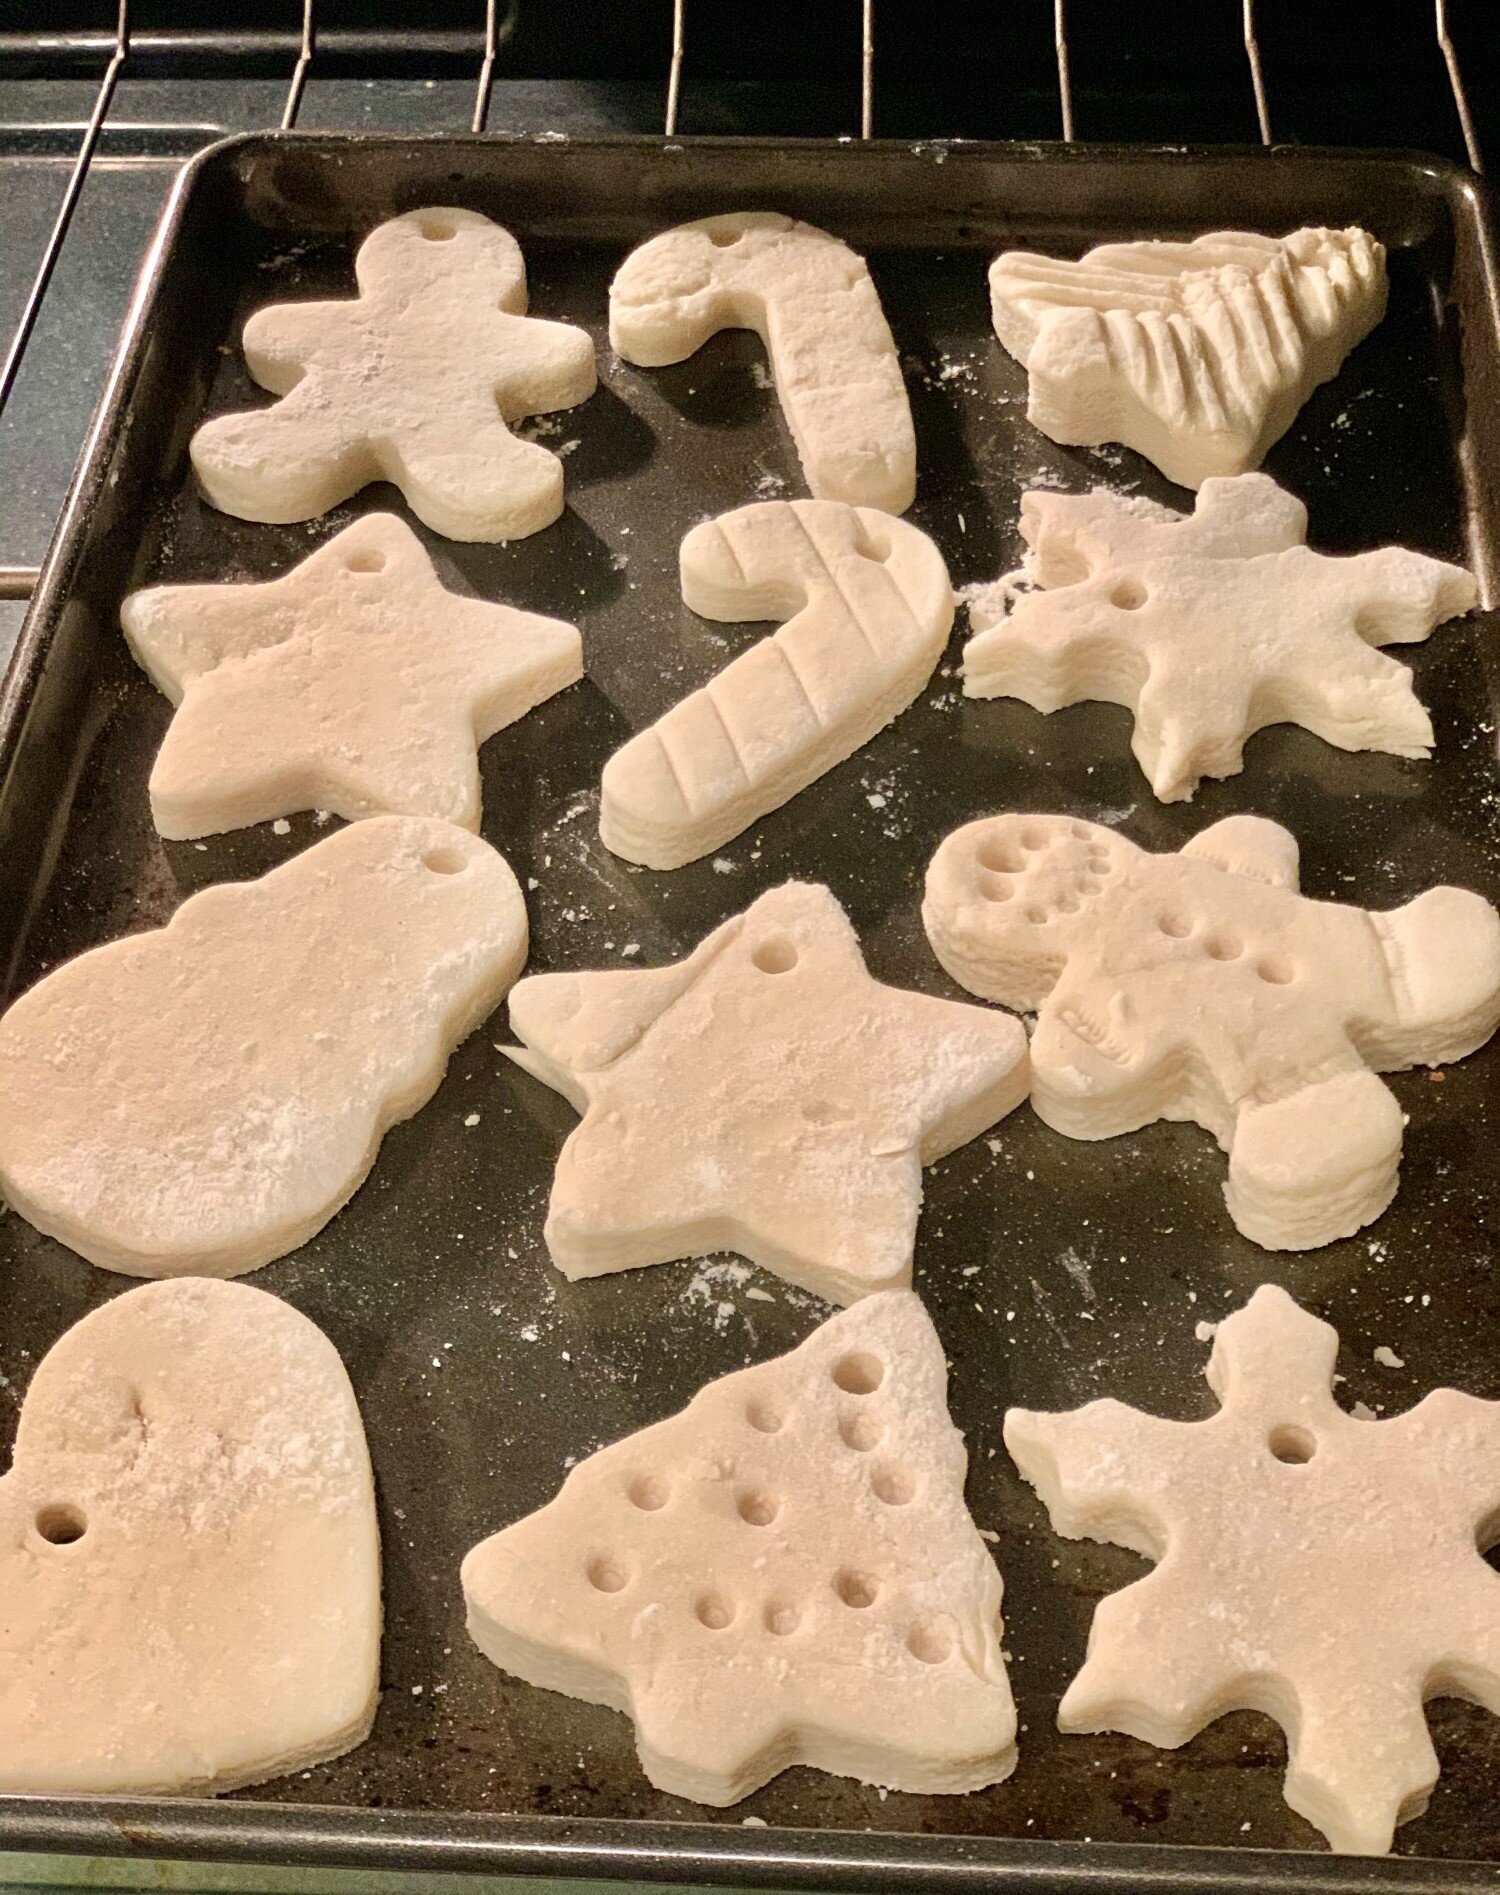
Salt Dough Ornaments by Gabrielle McLean
With the holidays coming up, cooking and baking may be a great way to destress, just like crafting can be. This project, however, is making ornaments with dough which is like a combination of the two. These ornaments can decorate your tree or be gifts for loved ones. If you choose to make these ornaments as gifts you can personalize them for each person by making different shapes and colors. Play some holiday music or watch a movie. Also, with the current pandemic, you may not be able to see as many friends as family as usual due to travel restrictions or health concerns. This is a great activity for video calls so you can still take part in fun activities with loved ones while keeping yourselves and others safe.
Recipe based on https://www.allrecipes.com/recipe/11126/dough-ornament-recipe/
and https://www.thebestideasforkids.com/salt-dough-ornament-recipe/ but feel free to check out other recipes to figure out what works best for you! Additionally, be sure to keep the ornaments away from pets. When you store them, you may want to wrap them to keep them safe.
Materials:
4 cups of all-purpose flour
1 cup of salt
1.5 cups of warm water
Paint
Varnish or Mod Podge
Glue
Glitter
Yarn or Ribbon
Scissors
Instructions:
Step one:
Get all your supplies.
Step two:
Preheat your oven to 325 degrees Fahrenheit (165 degrees Celsius).
Step three:
First, mix flour and salt until well mixed.
Step four:
Then, slowly add water. Mix this with a big spoon. Mix with your hands until the mixture is soft.
Step five:
Flour your surface.
Step six:
Put your mixture on the flour and roll out the mixture to about ⅛ an inch. You may do thicker ornaments, but keep this in mind when air drying and baking.
Step seven:
You can use cookie cutters to take out shapes. When you are done taking out all the shapes, re-roll your mixture so you can get more ornaments. You may need to add a drop of water every once in a while if the dough feels like it is too dry and appears to be cracking. Another idea is to make your own shapes if you do not have or do not want to use a cookie-cutter. Feel free to check out examples on the internet to get some ideas! A fun addition is to use forks, ends of paintbrushes, or other tools to create details and designs in the ornaments. For example, if you use a fork you can make a tree look like it has branches or you can make a candy cane look like it has lines for different colors. Again, if you would like to have a thicker ornament, you may choose to do that-just be aware that the ornaments may need to air dry a bit before you bake them. Make sure you flip them so both sides can dry.
Step eight:
Using a straw, paintbrush, or another item, poke a hole in the top of the ornament so there is a place to put ribbon or string so it can hang on the tree. A toothpick may work, too, but you may need to move the toothpick so the hole is big enough for the ribbon to go through.
Step nine:
Bake your ornaments at 325 degrees Fahrenheit (165 degrees Celsius) for about one hour. Make sure to keep your eye on it. You want to bake the ornaments until they are hard and sturdy. Even after you bake your ornaments, give them some time to air dry to make sure they are dry.
Step ten:
Next, paint the ornaments.
Step eleven:
Coat the ornaments with varnish or mod podge to preserve them. The website https://www.thebestideasforkids.com/salt-dough-ornament-recipe/ says that you can seal the ornaments first, then you can add glue so you can add glitter to the ornaments.
Step twelve:
When the paint or glue dries, you can place your ribbon through the hole.
Step thirteen:
When you are done, place your ornaments on a tree or carefully wrap them up as a gift! No matter the holiday(s) you celebrate, stay safe, eat some good food, listen to music, connect with loved ones, and take care of yourself!


